Isic
YƎVEY joined
I'M HERE TO CLEAN
My Blogs (0 - 10 of 12)
WILD BEAR BLOCKS YOUR PATH! WHAT DO YOU DO??!?
I couldn't get rid of this
springy
DISTORTED ALPACA
Props you don't place down/interact with
Paper Plates and Cups- Not worth it. The colorful version is better. Once you buy the colorful ones, these would get replaced anyway.
Colorful Plates and Cups- The better version of cups and plates. It's better to buy this instead and save $5.
Single Stage- You're better off getting the double stage and save $25.
Double Stage- If you want some trash robots, then get this.
Discount Cooling Unit- This is a must. (I'm kinda his #1 fan.) Good item for health/safety and a little atmosphere. It's also animated.
Sanitation Station- Good for getting rid of all your risk at the beginning. The Cooling Unit + Colorful Plates & Cups will save you a little more money, though.
Paper Pals- They're cheap. Get 'em.
Foil Party Set- Has good atmosphere and health/safety.
Enhanced Speaker Set- Better off getting the bigger speakers. These will be replaced once you buy the bigger ones.
Deluxe Speaker Set- Great item for atmosphere. I'll also save you $125 if you don't buy the smaller ones.
Gumball Swivelhands- Has good bonus revenue.
Neon Stage Lights- Is cheap and gives some atmosphere and entertainment.
Sturdy Stage- Don't get this and save yourself $110. It'll be replaced when you get the extended version.
Sturdy Stage Extended- Get this if you want to celebrate your Happiest Day.
Novelty Traffic Light- Cheap and gives nice atmosphere.
Star Curtain Stage- Get this if you want to get the achievements. Also allows you to have more entertainment at once. You need to have the largest floorplan to get this.
Deluxe Concert Stage- Get this. The best stage that hold four robots at once for more entertainment and is necessary for achievements.
Neon Jukebox- Great for entertainment and bonus revenue. Also has an animation.
Medical Stations- Great for health/safety. Cheaper than Security Doors, but gives less health/safety.
Security Doors- Even better for health/safety, but more expensive than Medical Stations. You're buying $600 for two more health/safety points.
Confetti Tiled Floor- Gives really good atmosphere and looks cool. Don't know how it won't make kids slip.
Disco Pizza Light- Gives good atmosphere and entertainment.
Neon Party Set- Gives really good atmosphere and good health/safety. Will replace previous table materials. Engage the party hat.
Pickles- Gives you happiness. Don't know if it actually affects anything, but I guess it's good to have as a completionist type of thing. Really cheap for a late game item. Need to complete achievements beforehand to unlock. The best thing since sliced butter. I'M PICKLE RI-
Attractions that you can play/place down
Balloon Barrel- Is good if you suck at the ballpit, but gives the least amount of points.
Discount Ballpit- Gives the most points in the first catalogue, but it's hard to get. Comes with one liability and decent entertainment. SNAP
Duck Pond- Can get a lot of points if you figure out how it works.
Fruity Maze- Not very good point-wise, but has cool lore to it. Has decent entertainment. Is significantly harder on low-performance PCs.
Midnight Motorist- Points depend on computer performance. Has decent entertainment and a secret minigame within the game.
Candy Cadet- Can give you decent points (depends on RNG) and can tell you an interesting story. Has decent entertainment and bonus revenue. Candy.
Ballpit Tower- Good for getting Music Man and getting blacklisted, but not much else. It's random whether you get any money. Has three liability and good entertainment.
Latter Tower- Gives you junky points when completed. Only useful for getting blacklisted and has an inaccurate hitbox. Comes with four liability and good entertainment.
Carnival Hoops- Can give you lots of points if you get the 5000 jackpot. There's also the one free shot exploit you can use. Has good entertainment and bonus revenue.
Riding Rockets- Sometimes it's unfair when the pizzas spawn in a bad place or they don't get pushed back, but it's winnable most of the time. Usually gives around 4900-5600 points when completed.
Lemonade Clown- Only gives half the points of the fruit punch clown and has one less entertainment value. You're better off getting the fruit punch clown.
Fruit Punch Clown- The better of the two clowns. Gives double the points of the lemonade clown and has one extra entertainment value. Gives lots of points for getting all the BBs scared. Can also cut throats.
Balloon Cart- Gives out junky points when beat, even after patch. It's overpriced for what it's worth. Has good entertainment and bonus revenue, though.
Deluxe Ballpit- Can give you up to 10000 points when played. Has great entertainment and four liability. Good for getting sued and making money. boing boing boing SNAP
Gravity Vortex- Not really worth getting except when wanting to be blacklisted. It's too dependent on RNG to have a guaranteed win or to get enough points for it to be worth it, and most of the time the game decides when you lose. If you do win, you can get roughly 27000-30000 points. Great entertainment, good bonus revenue, and five liability.
Egg Baby- You can't play it, but it's needed for getting the Insanity ending. Has good atmosphere and entertainment and gives out that "what the heck???" feeling when you first see it.
Prize King- Good for getting Funtime Chica and a good money maker if RNG treats you right. Decent entertainment and great bonus revenue. Possibly a modified boss from one of Scott's older games.
Security Puppet- Great health/safety and entertainment. No need to crank this one's box. Comes with a secret minigame after playing three times. Gives lots of points after playing it four times. He protect.
Animatronics
Bucket Bob- Cheap and has one entertainment.
Mr. Can-Do- Cheap and has one entertainment.
Mr. Hugs- $5 more than the other trash robots, but has three entertainment. Also comes with one liability.
No. 1 Crate- Cheap and has one entertainment.
Pan Stan- Cheap and has one entertainment.
Happy Frog- Has four entertainment and is a character from Happiest Day.
Mr. Hippo- Has four entertainment and the cheapest of the mid-sized robots. Character from Happiest Day.
Nedd Bear- Knock-off of Freddybear. Has five entertainment and one liability. Priciest of the mid-sized robots. Character from Happiest Day.
Pigpatch- Has four entertainment. Character from Happiest Day and its name references Porkpatch.
Rockstar Freddy- Comes with seven entertainment and one liability.
Rockstar Bonnie- Comes with seven entertainment and one liability. Doesn't hover this time.
Rockstar Chica- Comes with seven entertainment and one liability.
Rockstar Foxy- Is $500 more that the other three normal rockstars, but has one more entertainment. Has one liability. Gimme that frontal lobe......
Orville Elephant- Expensive for a mid-size animatronic, but getting them all together will be worth it and he has better stats. One atmosphere, seven entertainment, and one bonus revenue.
Lefty- Cheap, but huge liability risk and buying him makes him come after you. Has max entertainment and liability. I imagine seeing him spaz out on the stage has to be pretty entertaining, especially if his head falls off and rolls across the floor.
Music Man- Pretty expensive, but can be won from Ballpit Tower. Has max entertainment and one liability.
El Chip- It will be me... Expensive, and has to be bought from the store. Gives seven atmosphere and seven entertainment.
Funtime Chica- The best robot in the game. Very expensive, but can be won from Prize King. Has max stats on atmosphere, entertainment, and bonus revenue.
Animatronics together
Trash and the Gang- Gives you $1000 as a reward. Gives you seven entertainment and one liability. Congrats, you have standing heaps of trash as your entertainment constructed from dumpster materials.
Mediocre Melodies- Gives you $10000 as a reward. Gives one atmosphere, twenty four entertainment, one bonus revenue, and one liability. Congrats, you have cheap knockoffs of a more successful brand as your entertainment.
Rockstars Assemble- Gives you $20000 as a reward. Gives you thirty eight entertainment and thirteen liability. Congrats on buying something that will try to kill you afterwards.
Posh Pizzeria- Gives you nothing as a reward but an image on the title screen. There are textures in the files for a $30000 reward, but it was either removed or bugged. Gives you sixteen atmosphere, twenty five entertainment, nine bonus revenue, and one liability. Congrats on getting the most expensive animatronics in the game!
Well, what I wanted to say is
It's out ;)
Also interesting to note that Scott called William "Purpleguy" in his confirmation post and that's how he's called in FNaF World. While talking to Purpleguy in the Halloween world, he talks about not mistaking him "for the actual Purple Guy" -> "Purple Guy". This could mean that William is "Purpleguy" and Michael is "Purple Guy", because Michael is literally a purple guy.
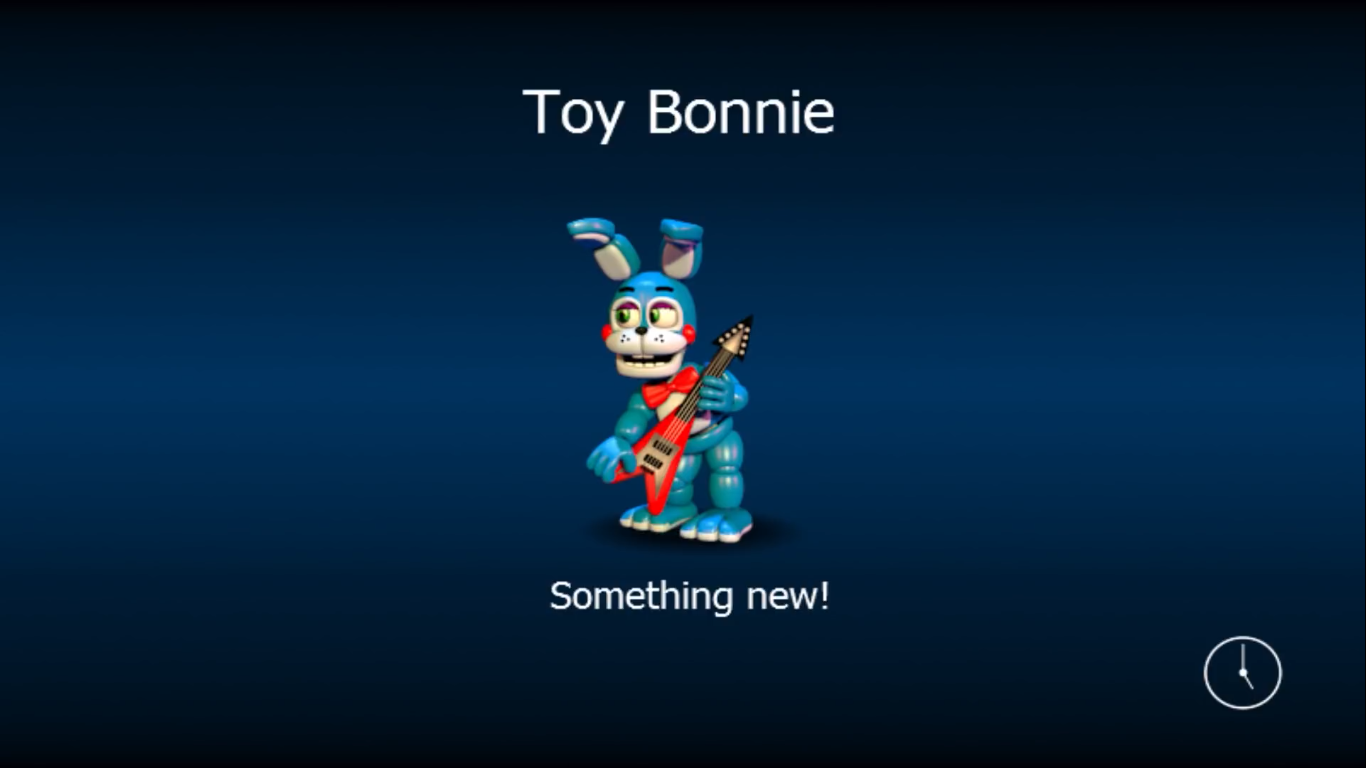
A reference from the FNaF 2 teaser with Withered Bonnie and Toy Bonnie back-to-back.
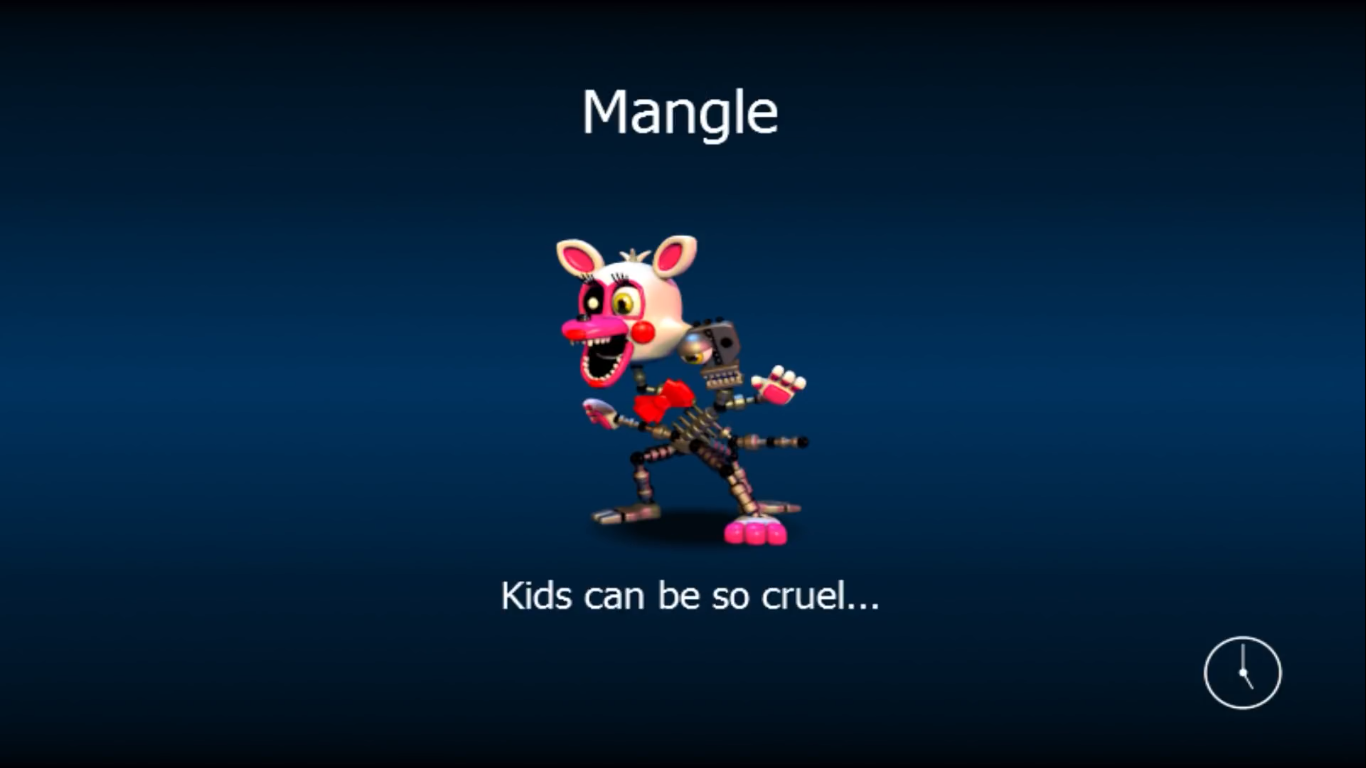
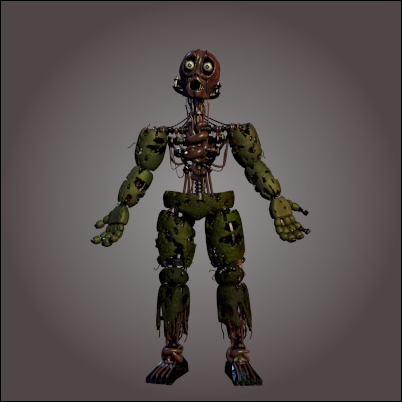
Implying that kids tore apart Mangle, and that someone didn't dismantle 'em. Also depressed endo.
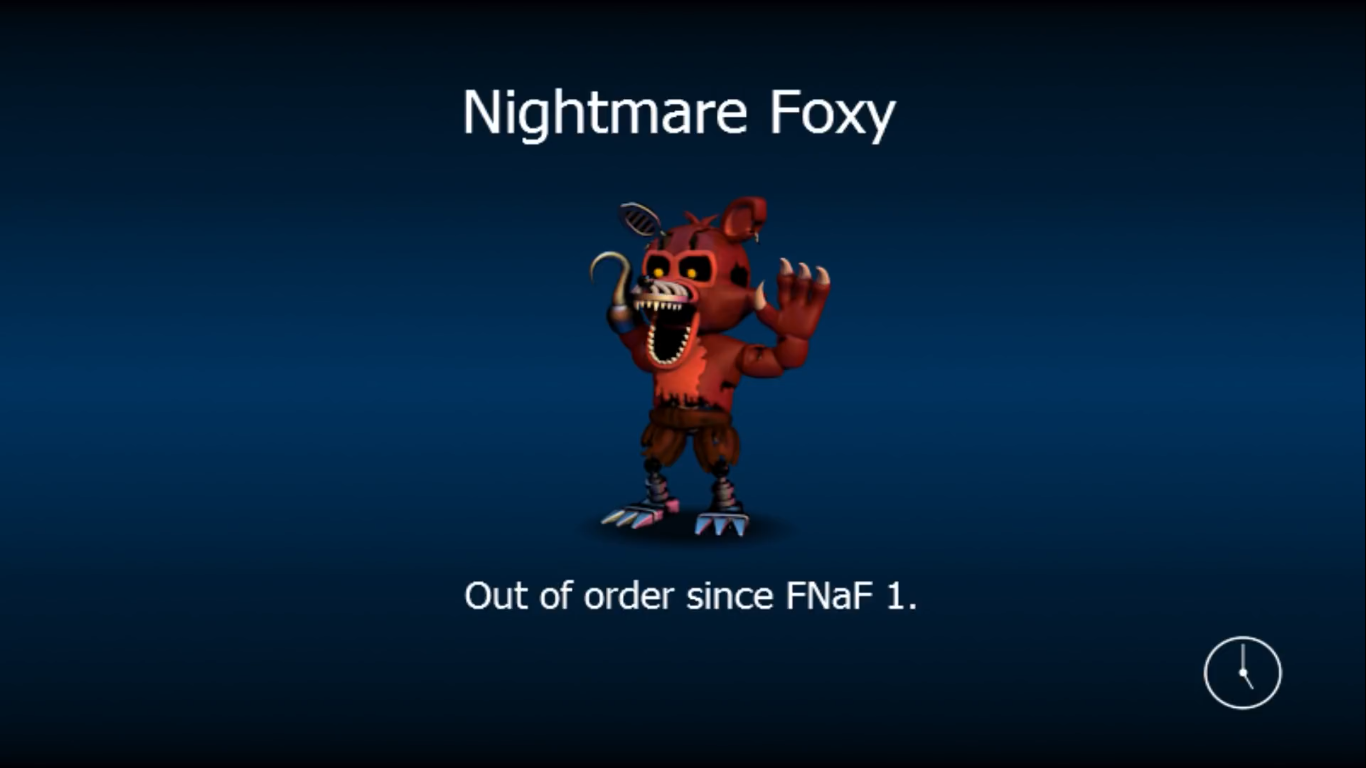
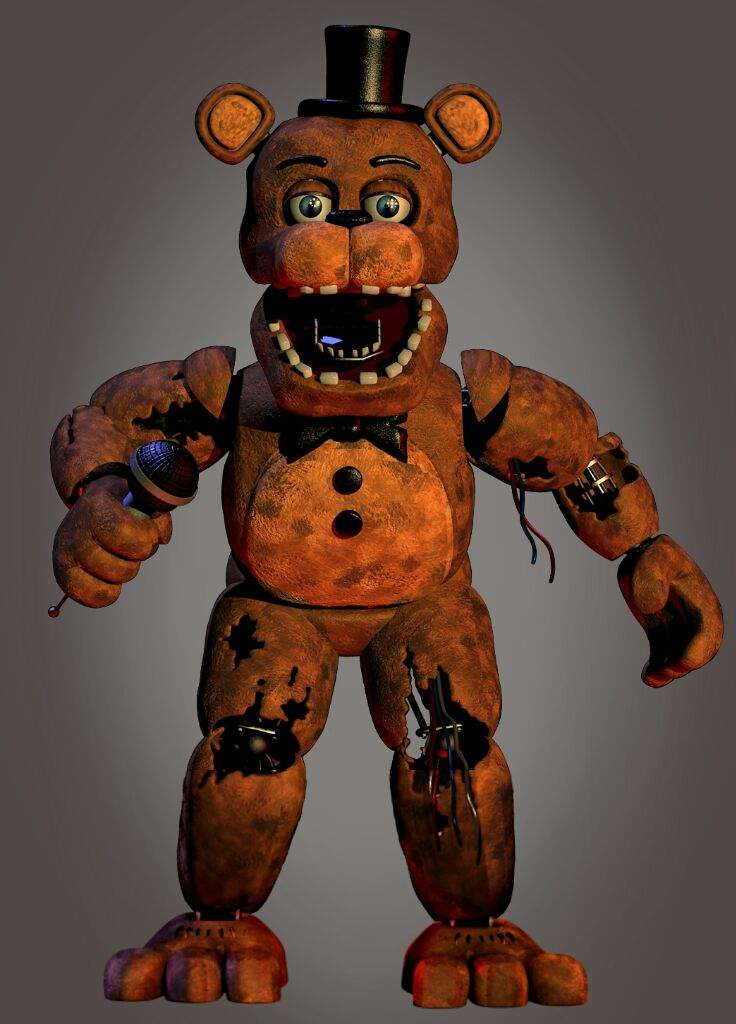
This one seems the most interesting. Could mean that FNaF 4 took place after FNaF 1 or that Classic Foxy and Nightmare Foxy are the same character, or both.
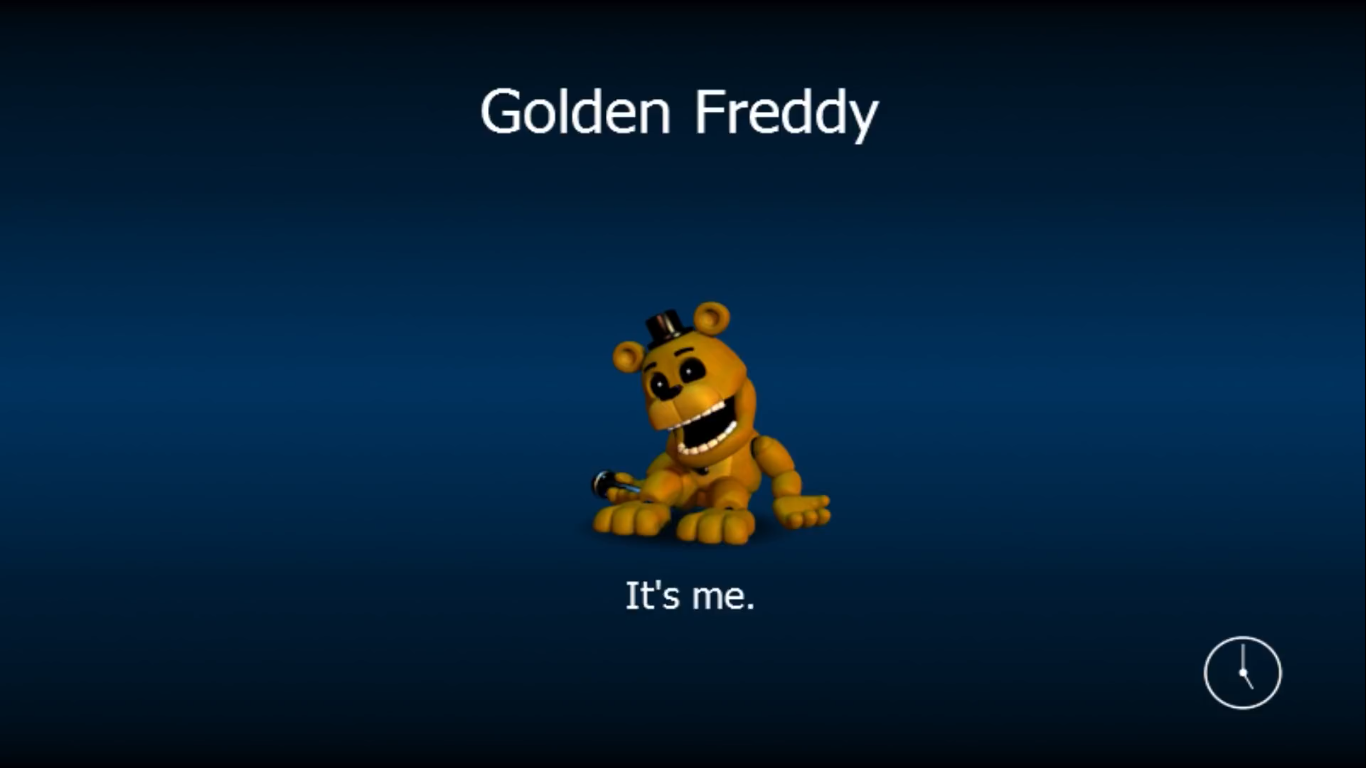
Implying that Golden Freddy is the one saying It's Me, or is one of the characters that says it.
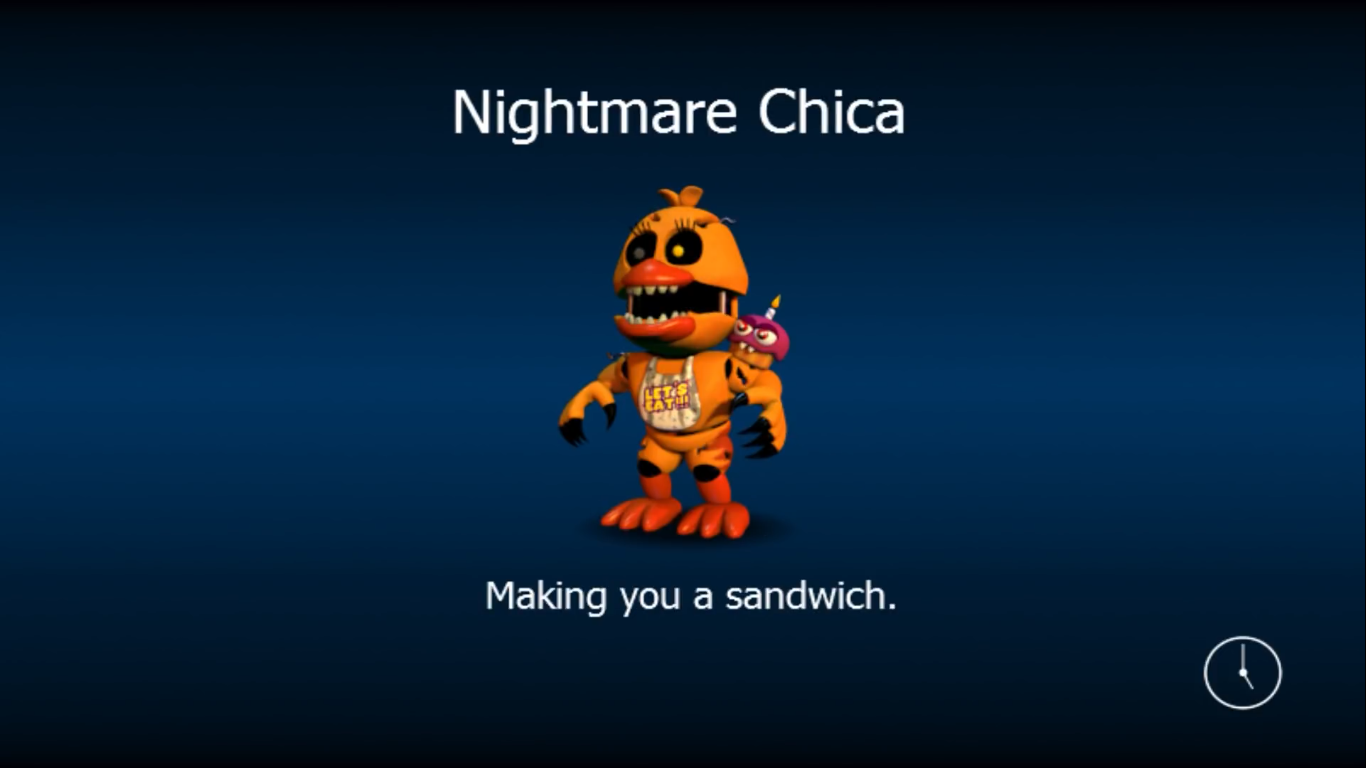
This is a reference to Markiplier's playthrough of FNaF 4 when he talked about Nightmare Chica making him a sandwhich in the kitchen.
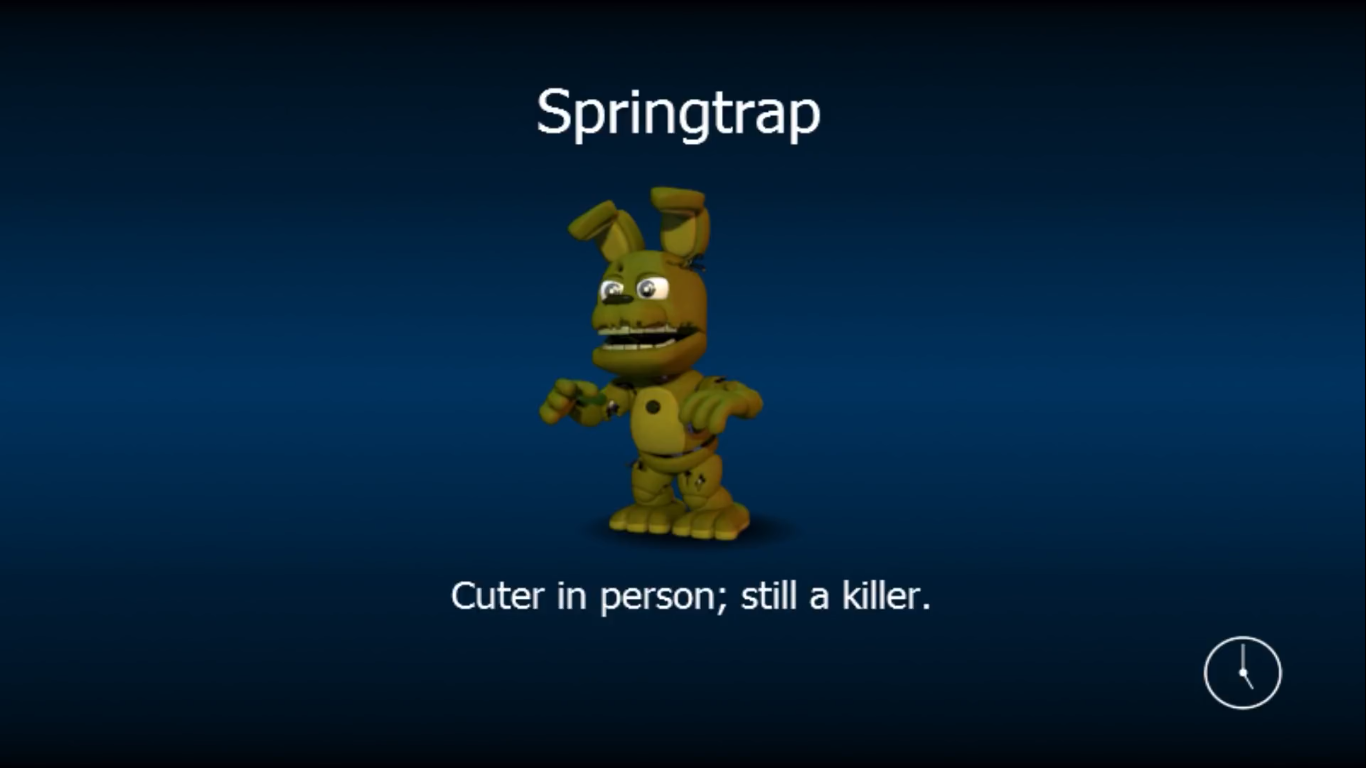
It says that Springtrap is a killer, which mades sense since William is inside him. See, FNaF World confirmed Willtrap.

You know I had to do it.
Overall- stuff that includes more than one game 1=FNaF 1, 2=FNaF 2, etc.
- (1,2) The animatronics cannot block / kick each other out of rooms. They just ignore each other unless they try to get in the Office when another animatronic is in there. They are not rendered to have them all seen at once, so they just overrite each other. In FNaF 1, Freddy gets overrited by Bonnie and Chica overrites both of them. That's why sometimes they can't all be seen at once. Same goes for FNaF 2. Just because you can't see them, doesn't mean they're not there.
- (1,2,4) You can skip the nights in FNaF 1 by pressing C D +. In FNaF 2, it is the same except you have to have your mouse cursor on Freddy's nose. In FNaF 4, you press S C 6 to get to 6am, and S C 4 will take you to 4am
- (1,2,3,4) You can get jumpscared and then win if it's 6am before the animation can be completed.
- (1,2,4) The AI. After a certain amount of time, a random number between 1 and 20 is selected. If that value is lower than or equal to that animatronic's AI, they'll move forward. So if an animatronic's AI level is at 5 and the random number generated is a 2, that animatronic will move forward. If the number generated was a 13, the animatronic would stay there. That is why they move less at a lower level, and more at a higher level.
- (1,2,3) A lives system was used in all three games, but was taken out before release. You had five lives, and every time you died you lost one. If you hit zero, you would go back to night 1. An example of this can be seen on Scott's gameplay video of FNaF 1. ![]()
Five Nights at Freddy's
- All the data for when the power goes out is controlled by the red recording circle in the cameras.![]()
- Golden Freddy is always in the FNaF 1 office, but he's invisible until he gets triggered.
- Golden Freddy has about a 1 in 100000 chance to appear. The flashing IT'S ME images are much more common, appearing with a 1 in 1000 chance.
- There is 1 in 10000 chance that you'll get a Golden Freddy death scene after a standard "game over". Basically, you can get jumpscared by Golden Freddy when you're on the Game Over screen.
- Freddy's and Foxy's early names in the files were Freddy bear and fox.
- Playing dead during a power outage does nothing.
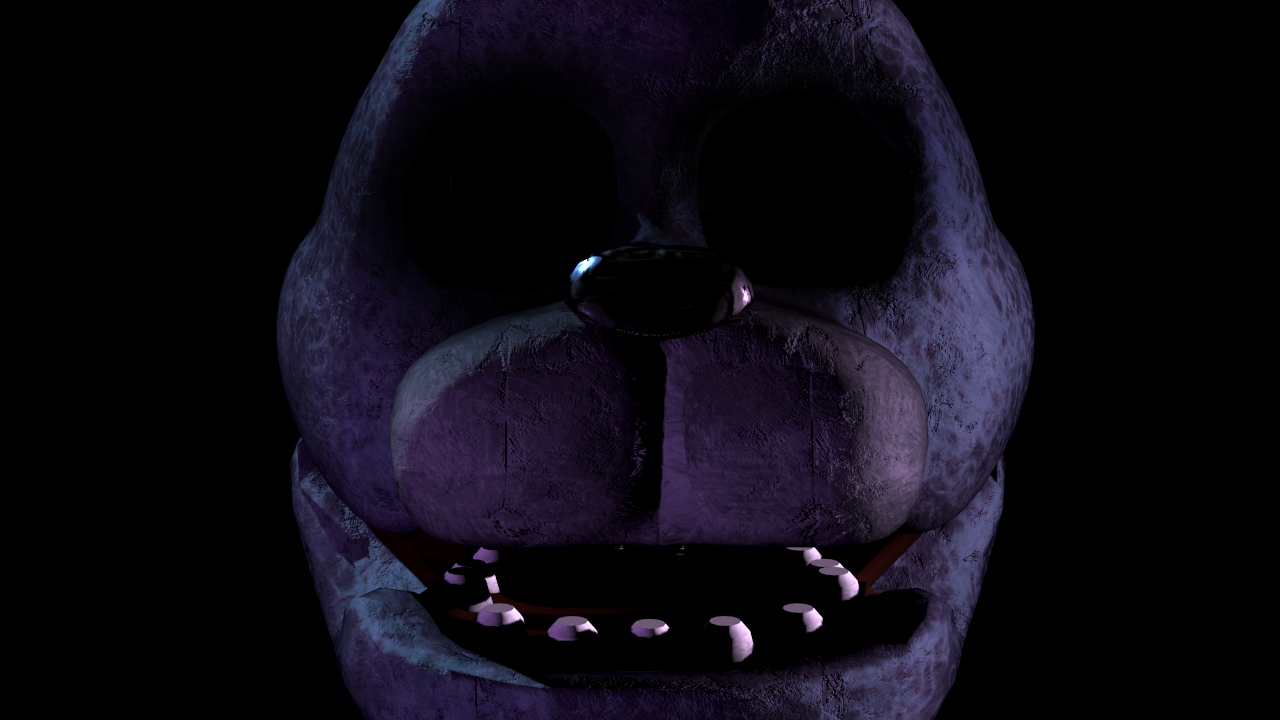
- Getting the Bonnie screen with white pupils in the Backstage cam is 1/1000.
- You can actually get five bars of usage if you close both doors, turn on a light, and flip up the camera. For a split second, it will show five bars before the light gets turned off. 
- There's a 1/1000 chance of getting the rare Bonnie screen upon entering the title screen.
- The power is stored separately from the displayed power. This "true" power starts at 999, which translates to 99.9%. The displayed power is set to the true power divided by 10. An additional 0.1% power drain is present on all nights except Night 1, at smaller increments depending on the night. Night 2 is 6 seconds, Night 3 is 5 seconds, Night 4 is 4 seconds and Night 5 and onwards is 3 seconds.
- What the map looks like in MFA.
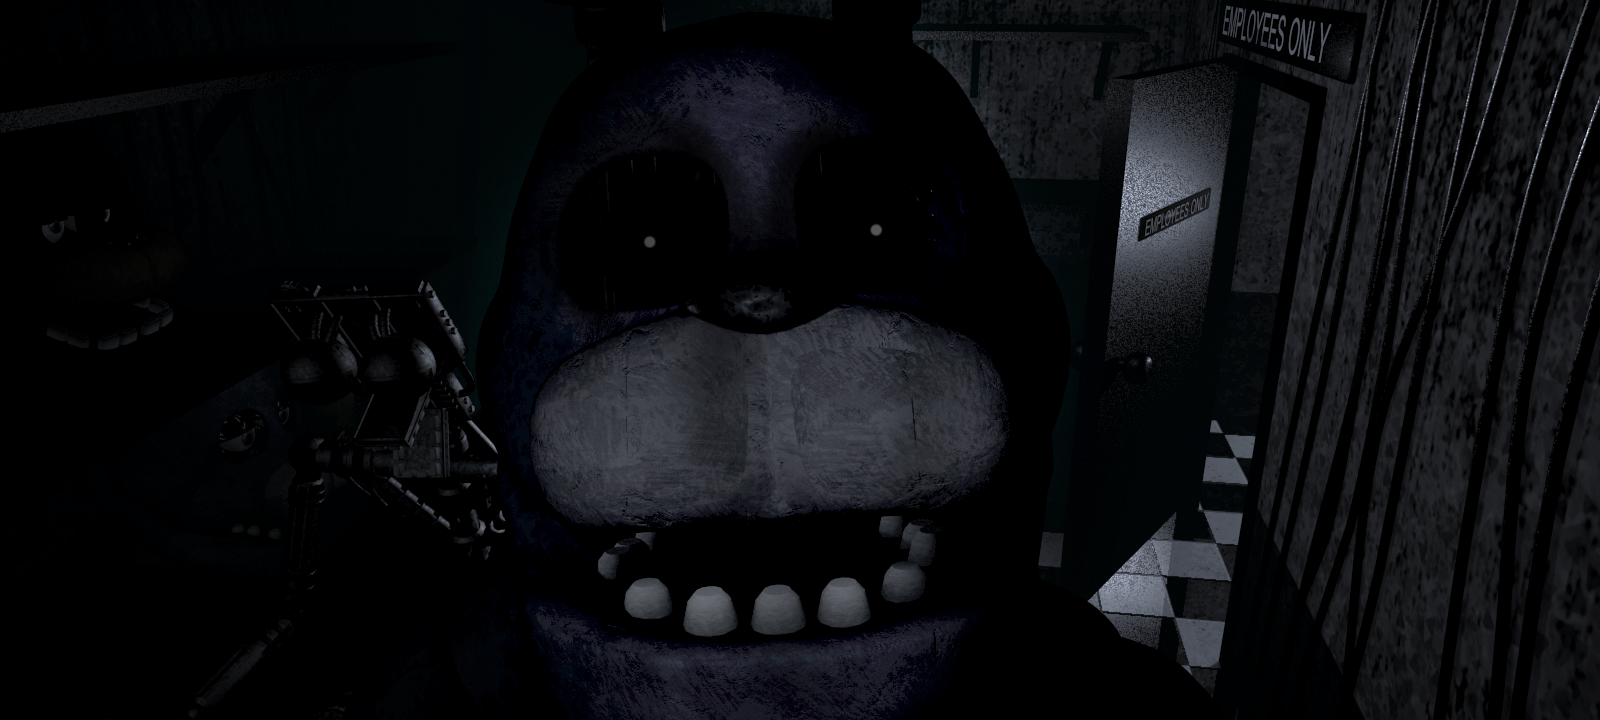
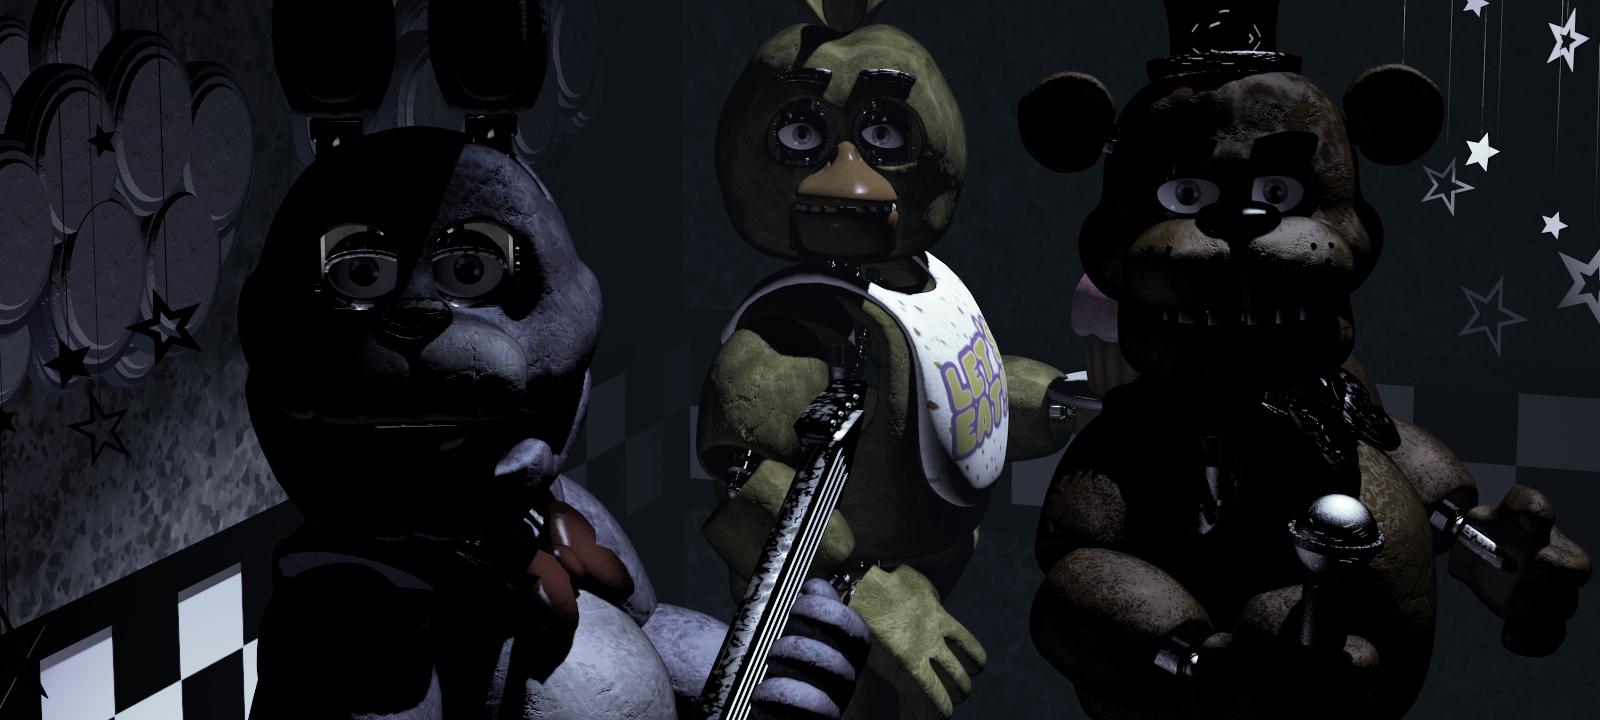
- There is an image for the Show Stage that shows the three animatronics looking at you. However, the code is removed from the game, and we don't know what caused it.
- Foxy can be slowed down by looking at any camera. He has a 1-17.5 cooldown after lowering the monitor, and that cooldown is set to any camera.
- Freddy cannot leave the stage until Bonnie and Chica do so.
- Bonnie and Chica's positions on a camera are randomized by setting a value to a random number between 1 and 2 (Dining Area for both, East Hall and Restrooms for Chica).
- The room Bonnie or Chica enter upon moving is randomized by choosing a random number between 1 and 2.
- Bonnie skips a few cameras (for example, he can move the Show Stage directly to Backstage), giving the illusion of him moving faster. Chica, on the other hand, doesn't skip any cameras.
- There is a reflection on the monitors and can be seen more clearly during Foxy's or Freddy's jumpscare.
-Chica and Bonnie share the same voice channel, and Chica's overwrites Bonnie's, so Bonnie's footsteps can't be heard unless Chica is nearby.
- Each animatronic gets updated after a certain amount of time. Bonnie gets one every 4 and 97/100 seconds, Chica every 4 and 98/100 seconds, Freddy every 3 and 2/100 seconds, and Foxy every 5 and 1/100 seconds.
- Bonnie's AI increases by 1 every 2, 3, and 4 am. Chica's and Foxy's does so at 3 and 4 am. That's why when you set them all to zero, they still move later on; their AI automatically goes up 2 or 3 times a night. Also, their AI doesn't have a cap, so like when you're playing 4/20 mode, you end up playing 20/23/22/22, but anything past 20 AI will act the same as if it was on 20.
- The AI levels throughout the game. Based on Custom Night values.
1st number = Freddy / 2nd number = Bonnie / 3rd number = Chica / 4th number = Foxy
Night 1
- 12am: 0-0-0-0
- 2am: 0-1-0-0
- 3am: 0-2-1-1
- 4am: 0-3-2-2
Night 2
- 12am: 0-3-1-1
- 2am: 0-4-1-1
- 3am: 0-5-2-2
- 4am: 0-6-3-3
Night 3
- 12am: 1-0-5-2
- 2am: 1-1-5-2
- 3am: 1-2-6-3
- 4am: 1-3-7-4
Night 4
- 12am: 1-2-4-6 or 2-2-4-6 (Freddy's activity is randomized between 1 or 2)
- 2am: 1-3-4-6 or 2-3-4-6
- 3am: 1-4-5-7 or 2-4-5-7
- 4am: 1-5-6-8 or 2-5-6-8
Night 5
- 12am: 3-5-7-5
- 2am: 3-6-7-5
- 3am: 3-7-8-6
- 4am: 3-8-9-7
Night 6
- 12am: 4-10-12-6
- 2am: 4-11-12-6
- 3am: 4-12-13-7
- 4am: 4-13-14-8
Five Nights at Freddy's 2
- Balloon Boy has a path for going to the Office, (CAM 10, CAM 7, CAM 3, CAM 1, CAM 5, The Office) but he has no renders for doing so.
- The Puppet was early on called "sockpuppet"
- Mangle is an overlay on the cameras and not actually rendered in the rooms. That is why when you shine the light on the rooms she's in, it doesn't shine on Mangle.
- The Puppet has a path that it takes when it gets out of the box. (CAM 11, CAM 10, CAM 7, Office Hallway) After he reaches the Office Hall, his path branches out to the left or right party rooms and continues downward and enters the Office from there. (CAM 3, CAM 1, Office) or (CAM 4, CAM 2, Office) When he reaches the office, a random number is generated from 1 to 10. If the random number selected is 1, the Puppet will jumpscare.
- You can stop the Puppet in his tracks. The Puppet's alterable value in the script is set to 2, allowing him to move. If you find him on the way to the office, spam the flashlight on cam he's on, and then his alterable value will switch back to 0, therefore making him unable to move. When the player switches off to a different camera from where the Puppet is, then his alterable value will switch back to 2.
- A render of the Puppet is meant to spawn inside the office and would move in a similar fashion to Toy Bonnie and Toy Chica going left and right, but it is deleted as soon as the frame begins. However, the code is still left in the game.
![]()
- The SAVE THEM minigame was originally only going to play when you got killed by the Puppet.
- There is code for a 1/9/8/7 easter egg, but the code stops abruptly there, so we never get to find out what happens.
- A toxic meter was originally put in the game so you couldn't wear the mask for too long. It would slowly fill up and then blink red when full. 
- A dead child sprite was named "you can't"
- Withered Bonnie's and Chica's sprites are named "dead bonnie" and "dead chica"
![]()
![]()
- Mangle's sprite name is "he was here"
![]()
- You can avoid Purple Guy if you position yourself at the bottom left corner of the room. The Freddy sprite is just small enough to not be touched by Purple Guy.
- Toy Chica has an unused animation in which she looks at you, like Toy Bonnie. However, despite the fact that the code is already there, only one variable's number is changed, making her unable to do so. This was changed intentionally.
- A render in the game files shows Toy Chica squatting next to the Paper Plates in Party Room 3, but she never actually goes there.

- In the "SAVE THEM" minigame, there is a random counter that begins after 30 seconds, between 0 to 2. When the counter hits 1, the minigame will end. This is why the minigame ends early sometimes.
- The rare screens of eyeless Withered Foxy, Toy Bonnie, and Withered Freddy have a 1/10000 chance of appearing. Foxy can appear when the night number is displayed after selecting a night, Bonnie can appear after the death screen, and Freddy can appear after the warning message.
- Shadow Bonnie crashes the game when four seconds passed after appearing. To get rid of him, shine the light before he crashes your game.
- Shadow Freddy cannot crash your game.
- Golden Freddy is programmed to appear on any night, but his AI is constantly set to zero for all nights less than 6.
- Withered Foxy has a different AI check compared to other animatronics. He'll become more aggressive if the Freddy mask has been worn unnecessarily for too long or if no animatronics have been in the hall for a long time. He'll become less active if the hall is checked often and is stalled if the light is shined at him. You have to stall him for a certain amount of time until he goes back to Parts/Service.
-Withered Foxy is always active on zero because his AI check is (21+random # 0-5)-D<=AI level. D is what makes Foxy more or less active based on the situations above. His check used to be (20+random # 0-5)-D<=AI level, but in a patch, Scott buffed his AI causing him to always be active. He isn't active in Night 1 because in another event, D is being constantly set to 0.
-Toy Bonnie has an additional waiting time when other animatronics are in "the danger zone". He might take longer and him waiting so long is what causes a lot of 10/20 fails.
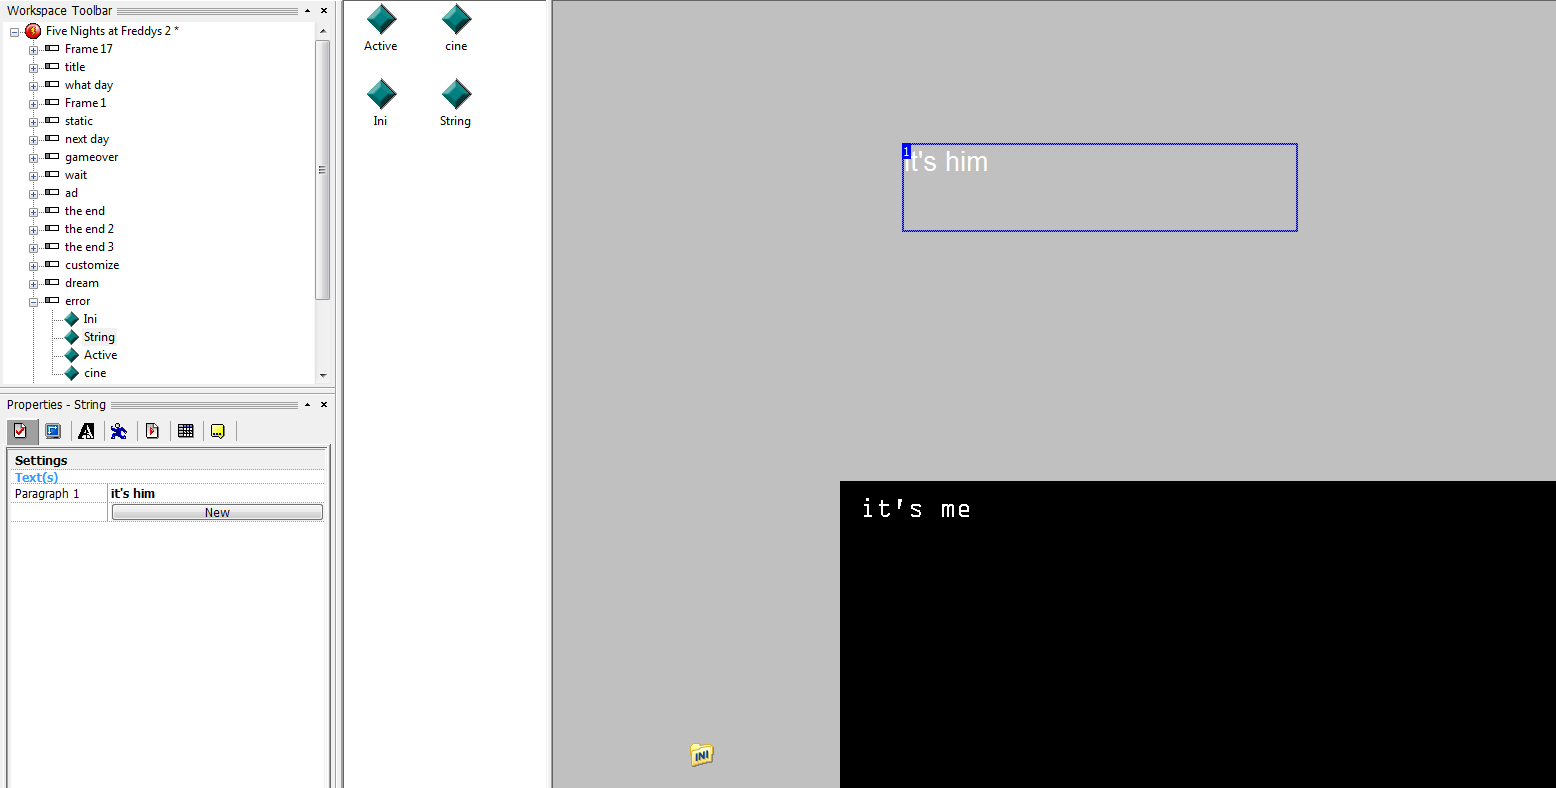
- Out of frame of the It's Me screen, "It's him" can be read.
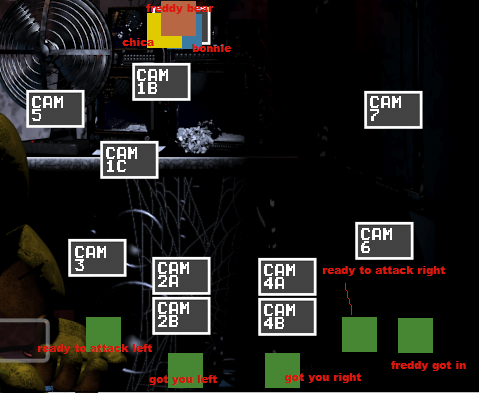
- This is the map with invisible squares that keeps track of where the animatronics are.
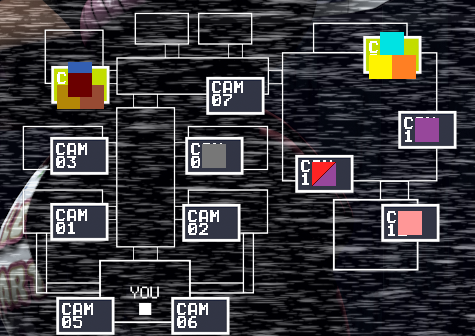 The grey square in cam 4 is the Paper Pal.
- Speaking of the Paper Pal, he has an AI, as why he is shown on the map, and if he leaves the party room to go into your office, he'll stay there until the night ends.
- There's a skull in the files named "mike" and is just the right size to fit on the map above. He doesn't have a default starting position, and was probably a scrapped idea; the sprite is all that's left. 
- The endoskeleton and Shadow Freddy have a 10% chance to appear and will appear at the same time. (you have to do certain things to make them appear, it's just not about flipping the camera up and down)
- The reason why the Parts/Service and Show Stage cameras are static all night on Custom Night is because there are no renders of Withered Freddy or Toy Freddy off the stage with Bonnie and Chica still there.
- The AI cap. None of the animatronics actually cap at 20, but lower. You were lied to.
- Freddy is capped at 15
- Bonnie is capped at 15
- Chica is capped at 15
- Foxy is capped at 17
- BB is capped at 15
- Toy Freddy is capped at 15
- Toy Bonnie is capped at 15
- Toy Chica is capped at 15
- Mangle is capped at 15
- Golden Freddy is capped at 10
- The AI throughout the game.
Night 1
12 AM: Puppet - 1
2 AM: Toy Bonnie - 2, Toy Chica - 2
3 AM: Toy Freddy - 2, Toy Bonnie - 3
Night 2
1AM: Puppet - 5, Foxy - 1, BB - 3, Toy Freddy - 2, Toy Bonnie - 3, Toy Chica - 3, Mangle - 3
Night 3
12 AM: Puppet - 8, Bonnie - 1, Chica - 1, Foxy - 2, BB - 1
1 AM: Freddy - 2, Bonnie - 3, Chica - 2, Foxy - 3, BB - 2, Toy Bonnie - 1, Toy Chica - 1
Night 4
12 AM: Puppet - 9, Bonnie - 1, Foxy = 7, BB - 3, Mangle - 5
2 AM: Freddy - 3, Bonnie - 4, Chica - 4, Toy Bonnie - 1
Night 5
12 AM: Puppet - 10, Freddy - 2, Bonnie - 2, Chica - 2, Foxy - 5, BB - 5, Toy Freddy - 5, Toy Bonnie - 2, Toy Chica - 2, Mangle - 1
1 AM: Freddy - 5, Bonnie - 5, Chica - 5, Foxy - 7, Toy Freddy - 1, Mangle - 10
Night 6
12 AM: Puppet - 15, Freddy - 5 , Bonnie - 5, Chica - 5, Foxy - 10, BB - 5, Mangle - 3, Golden Freddy -(random # 1-10)/10
2 AM: Freddy - 10, Bonnie - 10, Chica - 10, Foxy - 15, BB - 9, Toy Freddy - 5, Toy Bonnie - 5, Toy Chica - 5, Mangle - 10, Golden Freddy - 3
Five Nights at Freddy's 3
- According to the game's code, there isn't a way to get rid of Phantom Foxy. When he disappears after you open the camera is a bug, since the game never tells Phantom Foxy to do that.
- There is an unused Night 7 title in the game files, but this cannot happen since the building burns down after Night 6.
- Phantom Foxy is the only phantom to appear at 12am.
- Springtrap can't enter the vents at 12am.
- When said phantom jumpscares you, that said phantom won't bother you for the rest of the night.
- Phantom Mangle's head is always sitting behind the window, and just rises when triggered.
- In the minigame with following Shadow Freddy, there is text that says "find me". It was supposed to appear with Shadow Bonnie in "Clue Corridor", but it is out of frame.
![]()
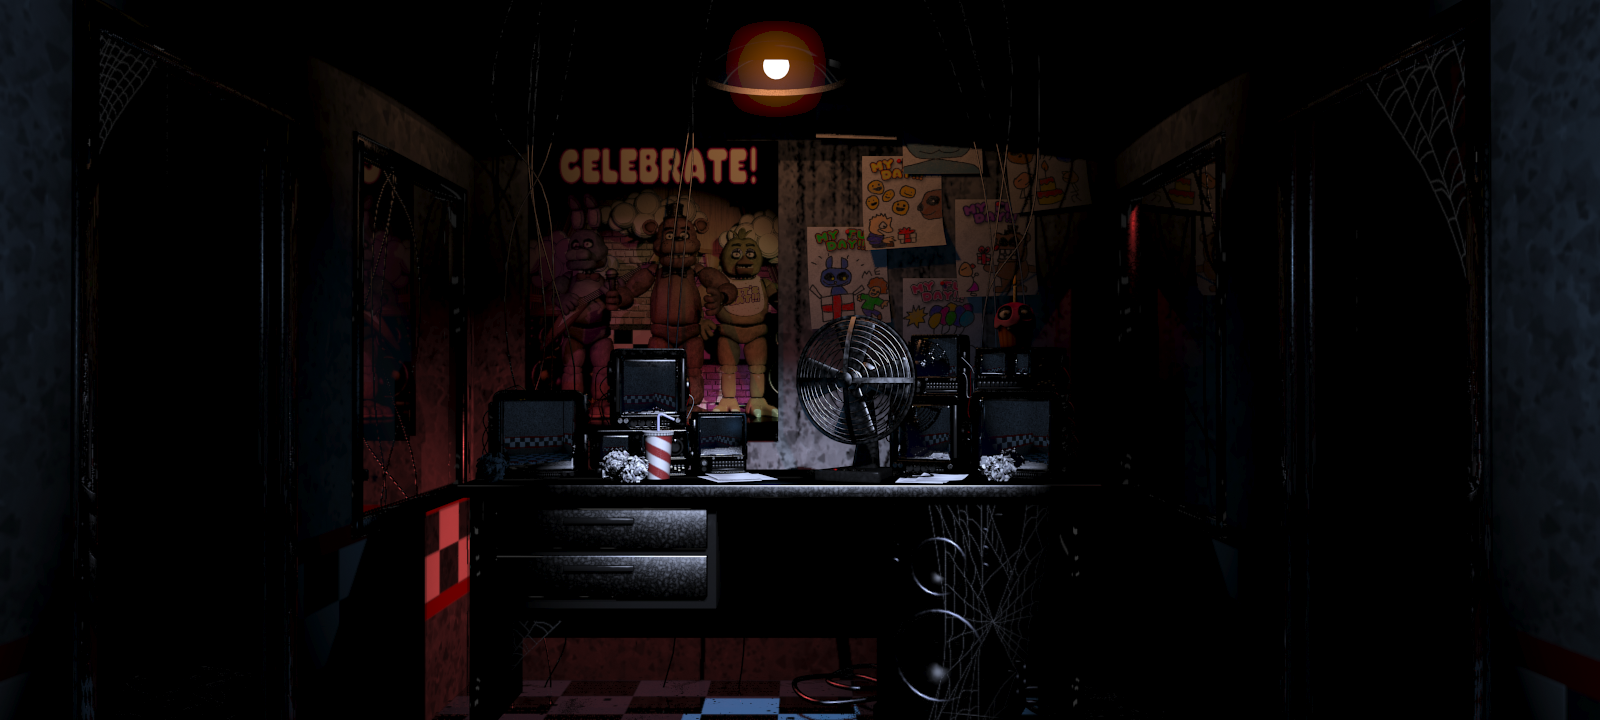
- The office is separated into three layers. The inside of the office, the window, and the Fan.
- If you take too long in the minigames, Purple Guy will run in the room and dismantle you regardless.
- Springtrap's name in the code is "dhfgh"
Five Nights at Freddy's 4
- Nightmare's image name for the extras menu is called "shadow freddy".
- When Nightmare jumpscares you, he was going to take you to a different screen, but the frame was deleted. When a frame is deleted, the game takes you to the next frame, which was the Warning Message. This is why Nightmare's jumpscare takes you there instead of the title screen.
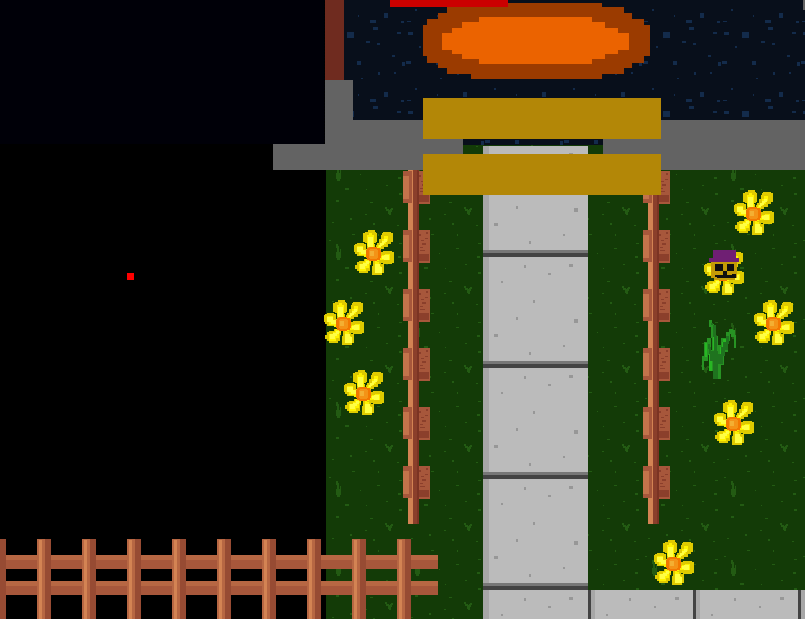
- In the minigames, there is a hidden honk that is out of frame. (the red dot)
- The box was supposed to open when you beat 20//20/20/20 mode, but Scott obviously changed it. When it said that "Perhaps some things are best left forgotten for now", it meant that the box would have been opened on the next night.
FNaF World
- Gold Endo actually has a set path that he follows throughout Pinwheel Funhouse. When he reaches the end, his path reverses and keeps going back and forth. In the picture below, the red dot is Gold Endo. You can see it on the game map, but you can't see him moving around. Every second, a variable is randomized between 0 and 1. If it's a 0, Gold Endo will not attack you when making contact with Freddy. If it is a 1, Gold Endo will fight you when he makes contact with the Freddy sprite.

- In the "Drowning Ending" where you fall below the pond and are met with an angel/a guy and his sons, the test "Happiest Day" is out of frame.
- The box from FNaF 4 can be found in the files, but it does nothing.

- After speaking to Glitch Bear for the first time, a piece of dialogue was supposed to appear at the end, but it immediately goes to the loading screen due to an error in programming.
"If you keep following him, you will only finish a story. There is something more important for you to do."
Not much for FNaF 3, 4, or 5 because Clickteam upped their security and made the decompiler not work with games like FNaF 3 and on. The decompiler was patched but not many people posted stuff afterwards about it, and I have no idea how to do it myself. If you actually read everything on this blog- thank you. Well, that's it. See you on the flipside.
The Freddy Files refers to the Pink Man multiple times as Purple Guy, and that it's just another shade of purple. So, there is no Pink Guy.

Please buy me an esoteric s-

T H A N K
Madness comes in many forms.
 hello, yes this mysterious endoskeleton has gone missing
if you find it plz contact Fazbear Entertainment
he like to hang around puppet man and crawl in the left vent
it is also believed that he sells ice cream
thx,
mngmt


Well, what I wanted to say is
It's not out ;)
hello yes this cupcake has gone missing if you find it please tell us and return it for a reward of 1 cent
