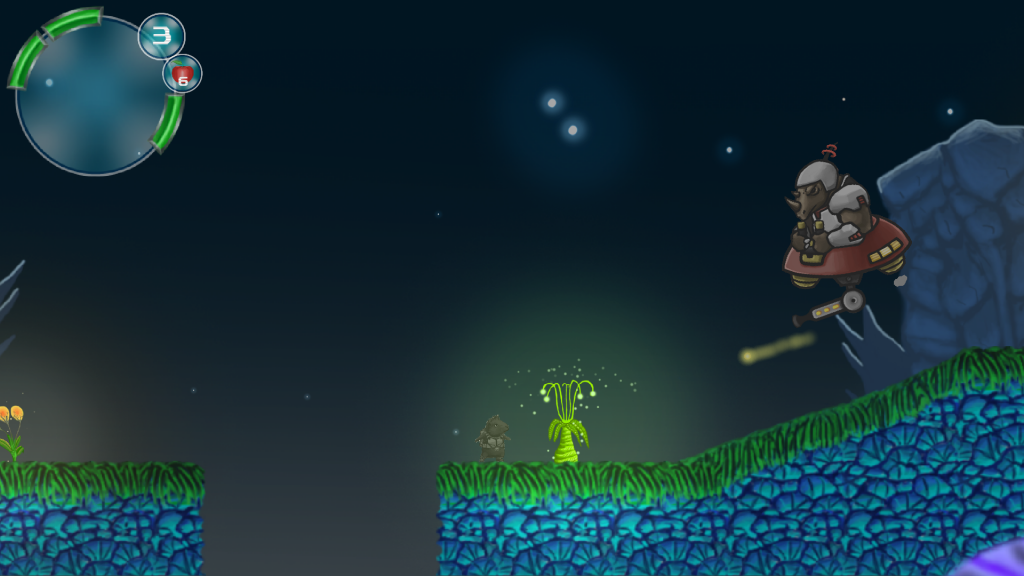
Scott in Space will have about 100 levels! That’s quite a lot for a platformer, especially considering they are all embedded in a consistent universe that allows players to travel freely. Are the levels of the game then drawn quickly and in a rush, no matter how they play? In no way, of course (otherwise, I wouldn’t admit and wouldn’t write this article!). If you want, then follow me through the process of how every single level of the game is created.
1. From Basic Layout to Detail Layout
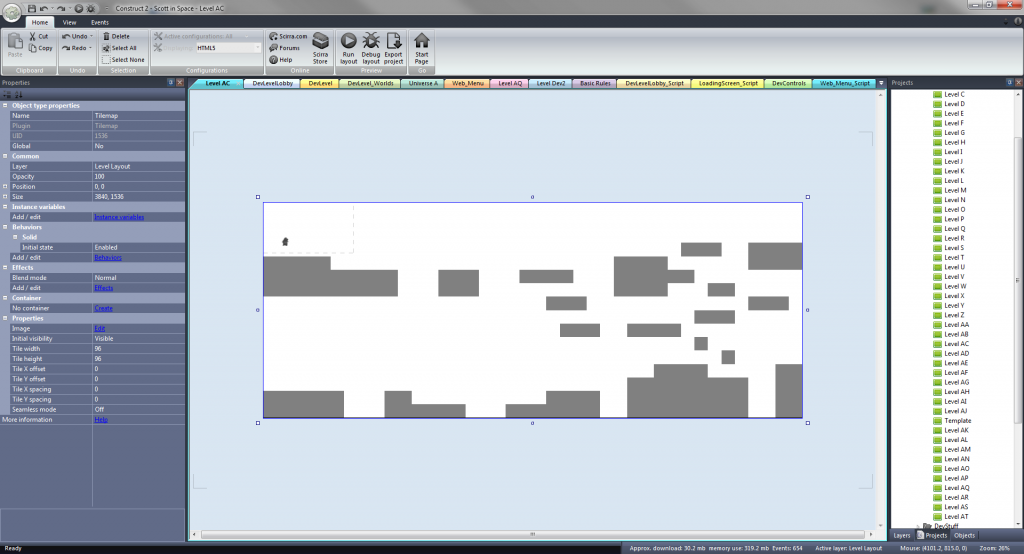
I always start with a very bare, very blocky level layout. I call it the basic layout. When I create the basic layout for a level, the only thing that I care about is designing a unique level with a unique path to follow that is not a duplicate, not even too similar to another level in the game. I also make sure the player has a few paths to choose from so playing Scott in Space is not just a matter of following a pre-designed linear path. The fun is also exploring environments. This level starts in the top left corner and ends in the top right corner, but offers quite some space to explore freely if the player wants to do that.
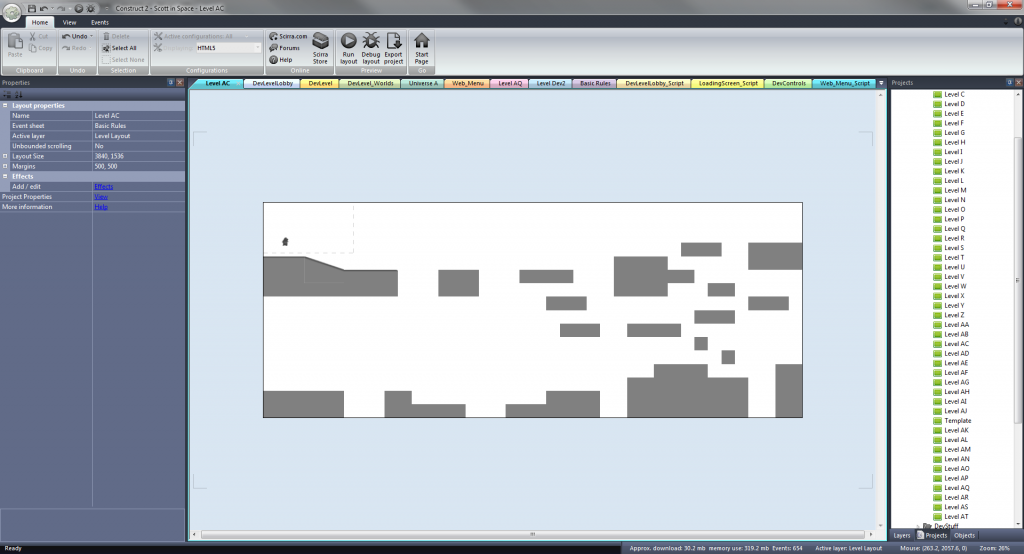
After that, I advance to what I call the detail layout:
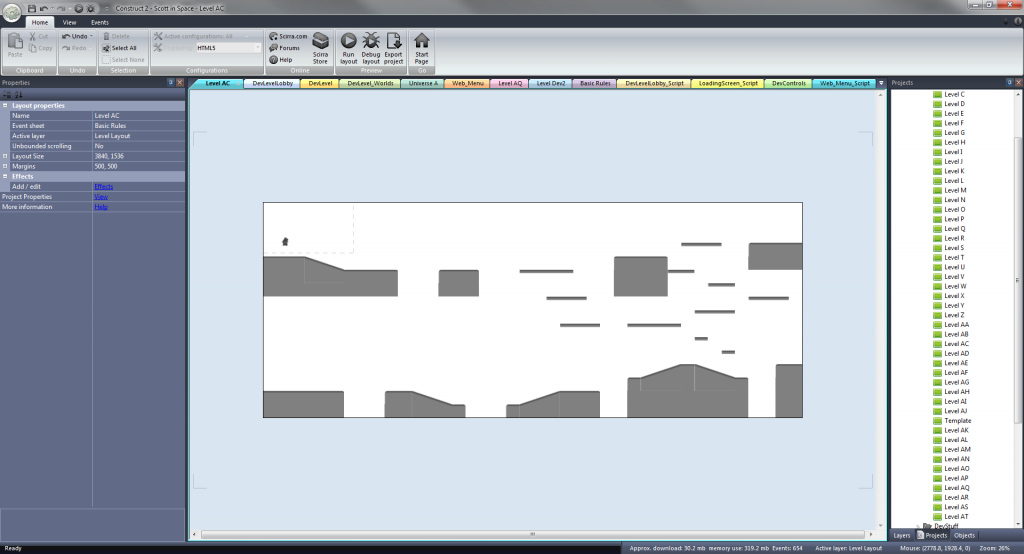
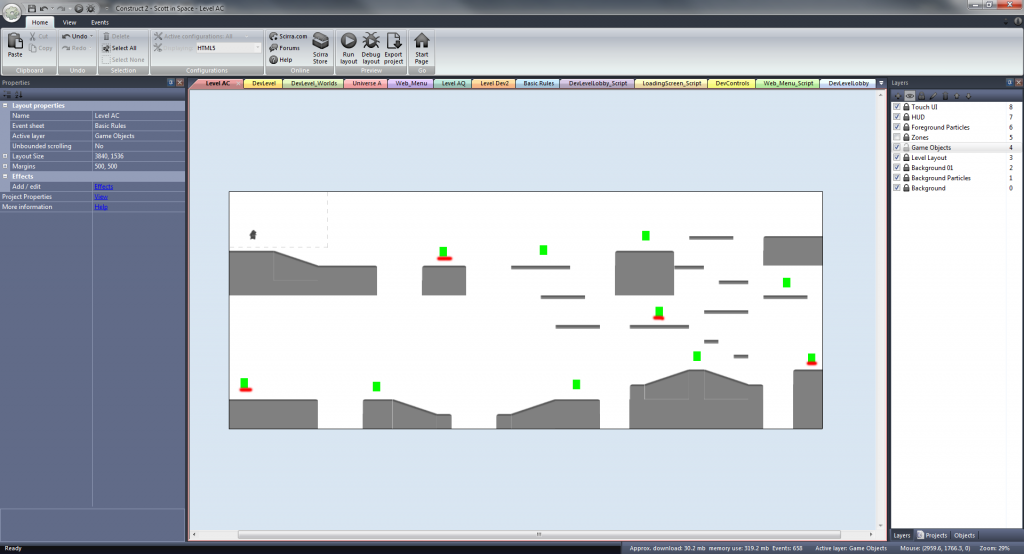
As you can see, the detail layout already gives a better idea of the shapes of the final level design. The floors, ramps and wall thickness are clear. Now it’s time for the inital test run of this layout!
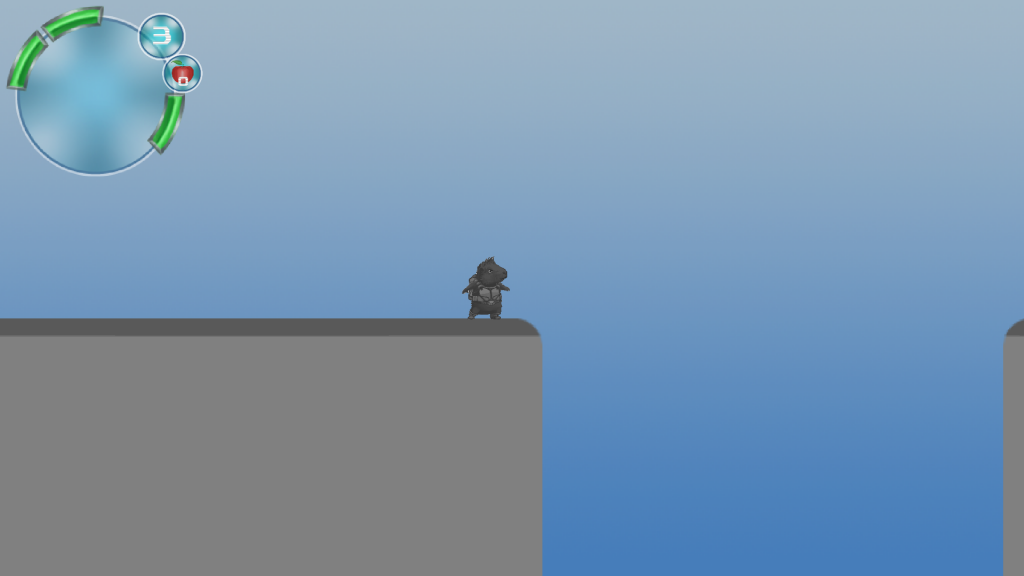
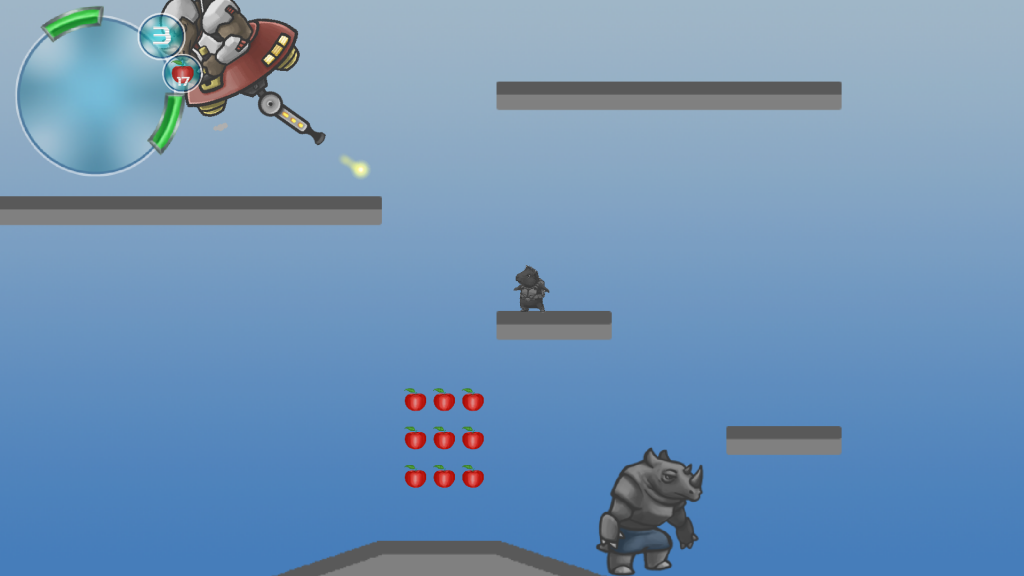
The inital level test run quickly shows whether the level works or not. Important questions are: Is every area of the level accessible? Are there micro skill challenges I did not intend to have there (an examle would be: You have to jump pixel precisely from one place of a platform to reach the next one… rather annoying than a fun challenge in my view). Can the player see everything I want him to see? The image above shows that the player can hardly see the next platform, let alone which enemies may await him here later on. The mobile version will even have touch UI on the right bottom corner.
2. Adding Zones
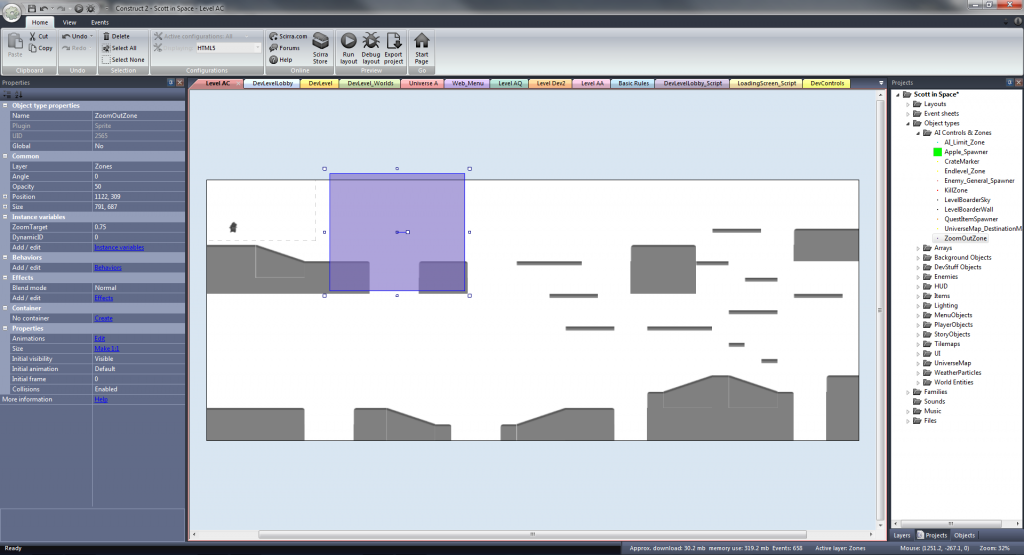
Zoom Zones are my friends to overcome this challenge. In the level editor I add zoom zones that are invisible in the game.
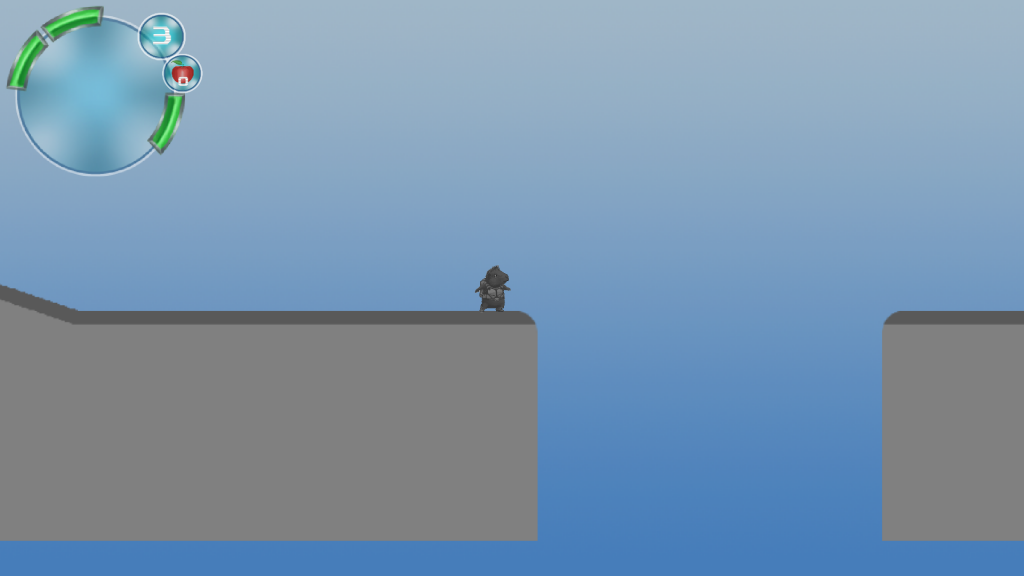
When Scott enters a zoom zone, the camera slowly zooms out and reveals more of the level.
The next test run shows: Now we can see the platform and also whether there is an enemy in the area we want to land on at the end of our jump over the gap.
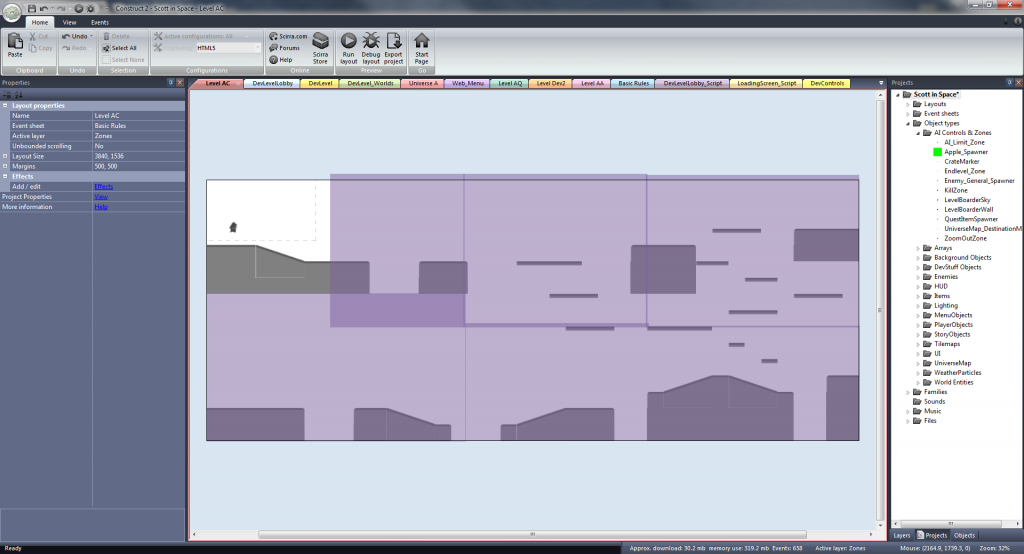
This special level needs a camera that is zoomed out for almost the whole time. So it’s maybe not the perfect example, so I decided to add another level design to show how well this feature allows to zoom out where needed and then to zoom again so the player feels close to Scott for the most time:
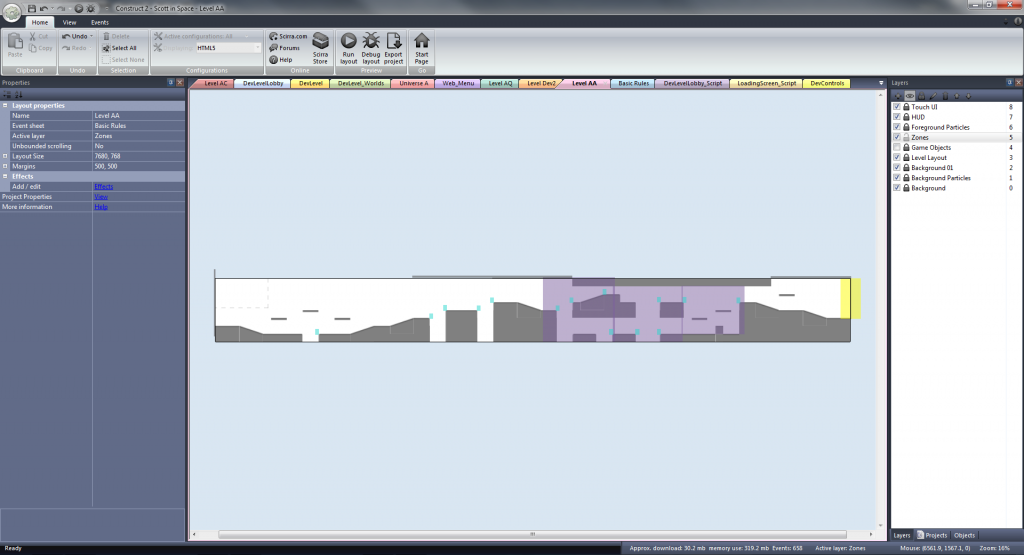
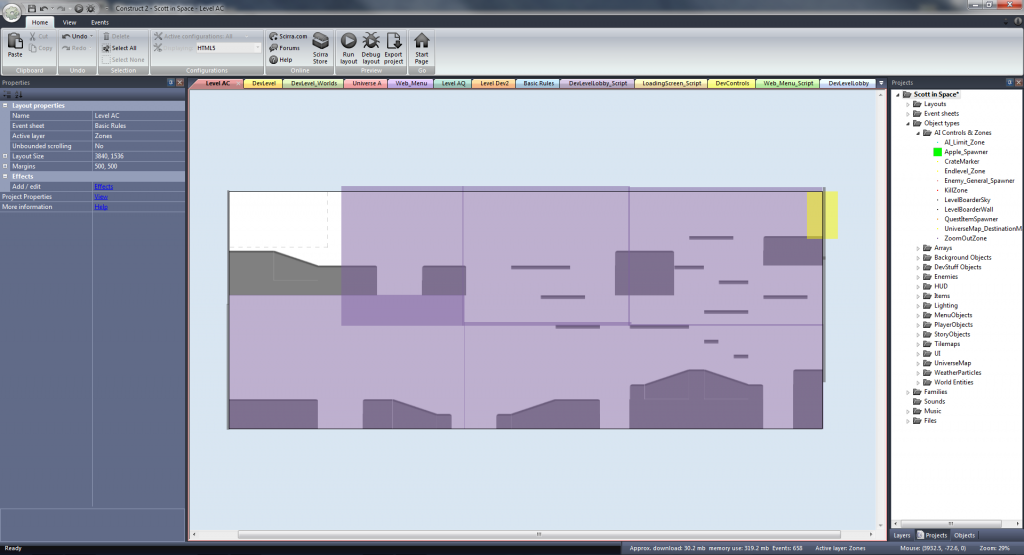
The final zones that are required are the level win zone and the level border zones. The win zone simply defines the level end and lets the player advance to the next one. That is the yellow zone at the top right corner. The level border zones are solid. They work as invisible obstacles and won’t let Scott leave the level to the left or the right. They are they grey thin bars on the left and the right of the level.
3. Adding Gameplay Objects
The third major step is adding gameplay objects. I start with collectable items because they have the function to lead the player through the level. They are what he strives for and what the player will probably risk his neck for.
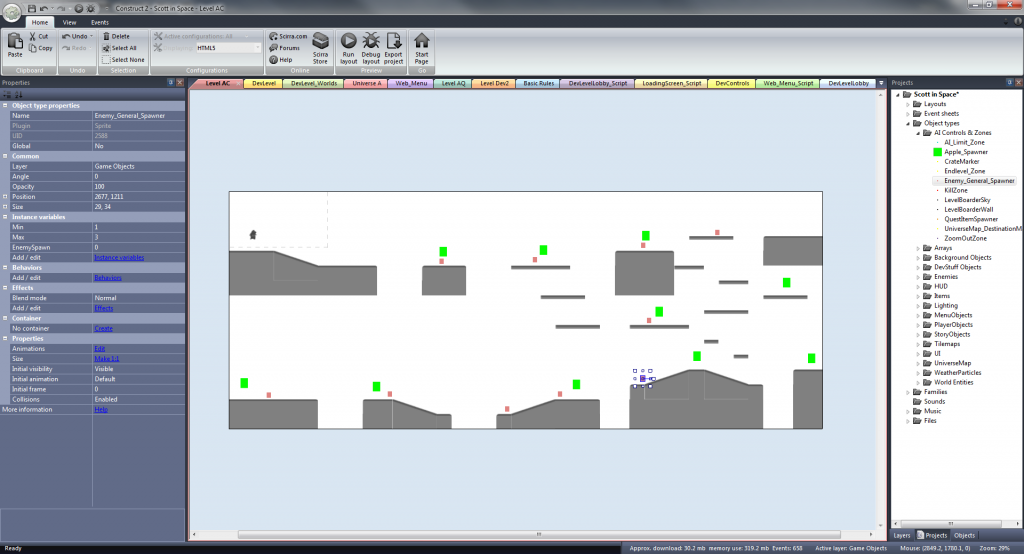
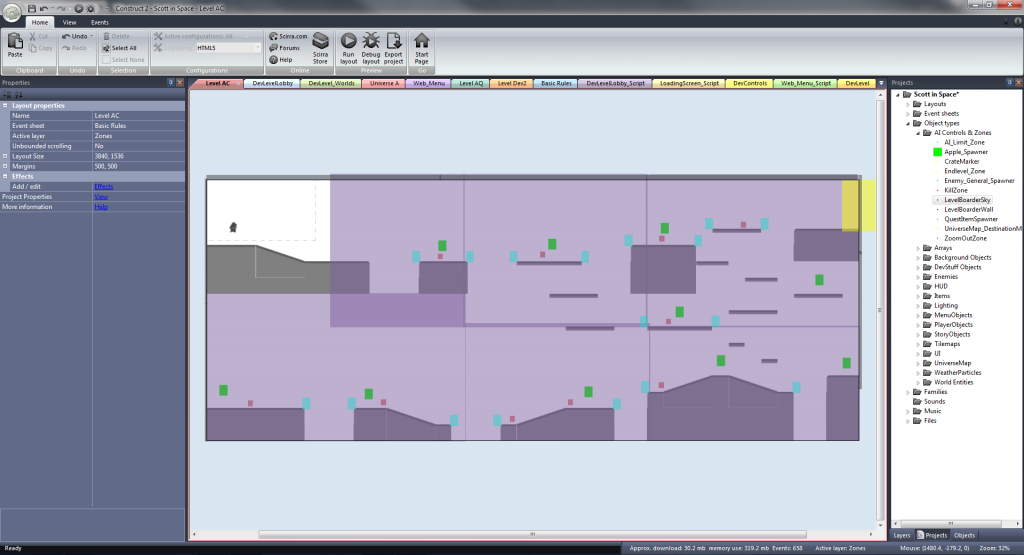
Since almost all gameplay objects in Scott in Space spawn randomly (which serves the freely roamable game universe), I do not place the apples directly in the editor, but I place apple spawners. They are green boxes that spawn 0 to 8 apples with a random chance at their location. Each spawner can have a pre-defined chance or pre-defined number of apples to spawn. I usually choose to have 1-4 locations to definitely offer apples in each play-through because they should be rewarding for the player. I marked them red on the shown image above. These spawners always offer 3-8 apples. The other spawners can have or can not have apples.
Then I add enemy spawners. They work almost in the same way as the apple spawners, but each enemy spawner can only spawn one single enemy. However, the enemy spawners have a wide range of different enemy types to choose from.
However, as I already addressed in earlier blog posts, just spawning the enemies and then leaving them un-attended would not be wise:
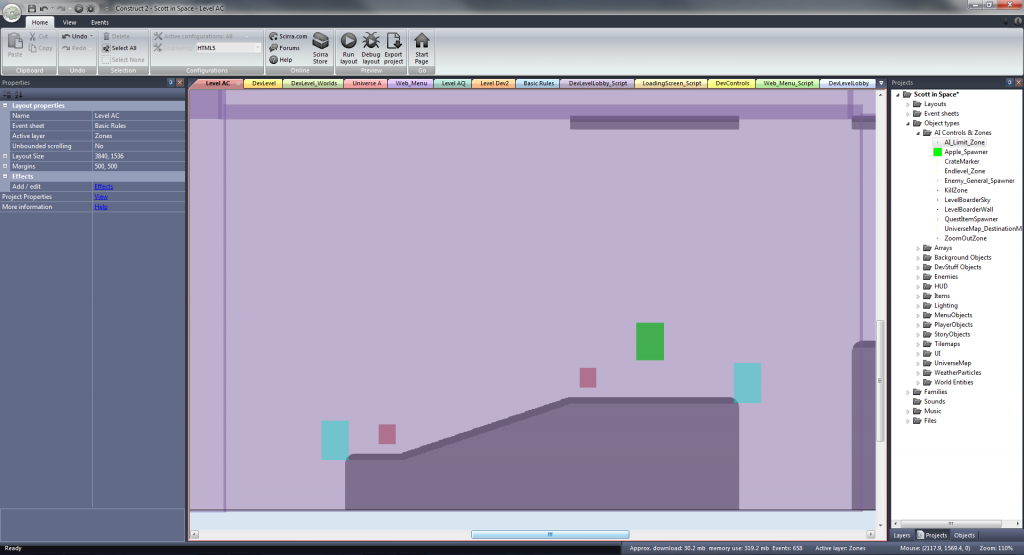
AI zones limit the enemy movement for the ground enemies (blue zones). The spawners might also spawn air enemies who ignore the blue zones. But the ground enemies need the AI zones to know where to turn around instead of falling off the cliff.
Now comes the final step:
4. Testing
This is one of the most underrated steps. Test, test, test!
The final level layout test run reveals where there may be problems that are caused by enemy or item spawning. For example, it can happen that enemies spawn in areas where they can hardly be overcome. This causes unfair situations and the player will hate it. And I, as the developer, hate it. I have this rule: There must be three perfect test runs without any problems in a row before I advance with the level design. If I spot a problem during a test run, I stop it immediately, solve it by finding a new spot for an enemy or item to spawn, by placing an AI Zone I forgot to place earlier or whatever the problem may be – and then start the test run phase from scratch. On rare occasions I even have to go back to step 1 (basic level layouting) because, no matter how I re-arrange gameplay objects, a certain area of the level just does not feel right. It does not happen often, but it happens.
So here is the final level layout. It is not the final level design!
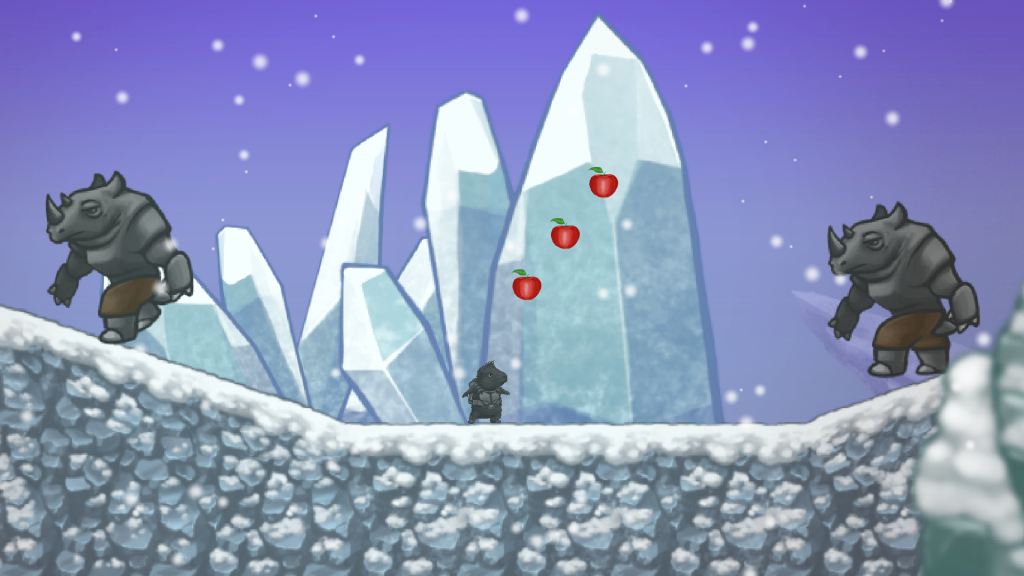
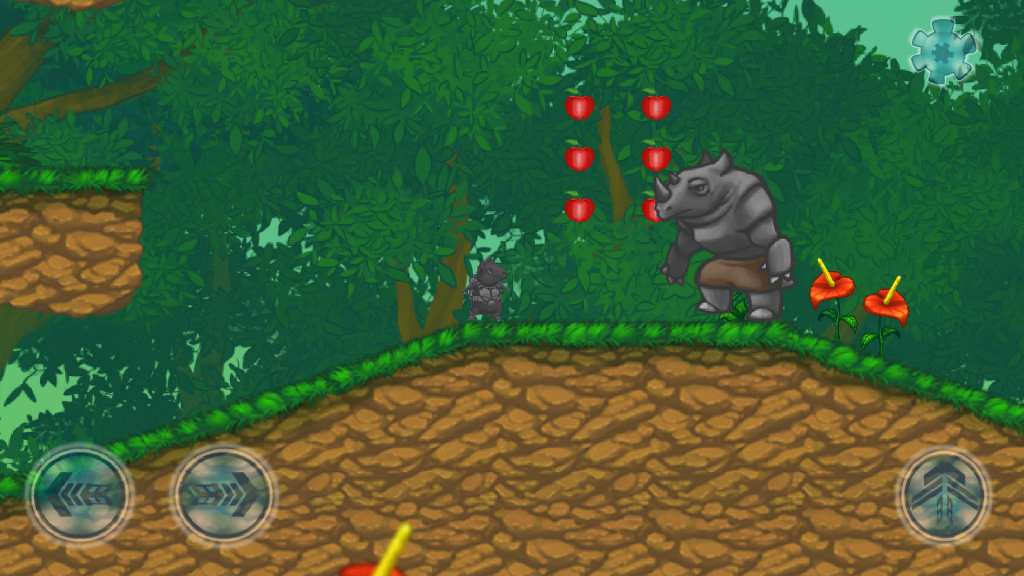
The next steps for completing the entire design are painting all the beautiful graphic assets over the grey foundation, adding detail layers, particle effects and so on. This is where the graphic designers come in with their awesome work. Latest examples of final level design:
Pros and Cons
Layouting the level is very profitable:
- The level creation is independent from the graphic designers. And the graphic designers are independent from the requirements of level design, everyone can have his own workflow.
- The balancing happens before graphic asset addition. That means that the sole gameplay can be judged and that changes can be made without having to deal with the beauty of the level yet.
- Returning to the level basic layout is possible without pain. Redraw a part and test again.
- The level instantly reveals the difficulty of the initially drawn design and shows whether it should be placed at the beginning or the end of the game.
- It serves a highly modular game creation process. I can not stress enough how easy the life of game developer is when you can plug parts in our out of the project without making any mess.
So far, I have experienced only one major disadvantage:
- The bare layout is not beautiful. I am always working in a highly conceptional way and whenever I show things to people in an early phase, they cannot always see where I am going – sometimes, it takes quite some explanation to let people know the game will not remain grey and that it is very grey right now for very good reasons.
Whether you are a game dev, an indie dev or a player, let me know your experiences with the growth of levels and games and if you think this article was helpful or inspiring for you. Or boring, perhaps. But don’t write too many answers or we might have an actual act of good communication after all… ![]()
