Blender is a free open source application that rivals the feature sets of the many popular 3D applications on the market. You can model, sculpt, texture, rig and animate all within Blender. Our current game Cyber Pest Control used Blender to create all characters and assets, including rigging and animating.
The box modelling technique is an ideal approach for creating game assets, and is especially applicable for the mobile market. You do not always need to include sculpted details in a model, or bake normal maps, after all mobile devices have limited resources available (although they are getting more powerful). Models produced via box modelling allow for further control, and with practice can also offset the need to retopologize your mesh. Edge loops can be placed where good deformation is needed and the mesh further optimized.
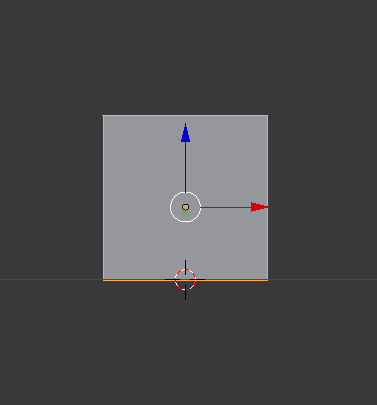
All meshes start off as the default cube in blender.
The subdivision surface modifier CTRL+ 2 at level 2 is applied to the mesh, this gives us a nice uniform shape to begin box modelling and enough topology to begin shaping the mesh.

We can then go into front view "1" on the keypad and turn on orthographic mode "5". We then change to face select mode and enter edit mode "tab". We also change the view port shading to wire frame "z" and then select the left side of the mesh "b" (border select) and draw the rectangle around the left half.
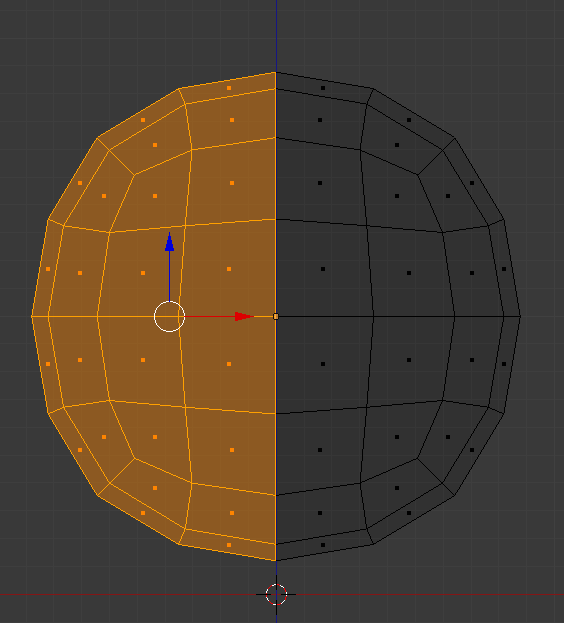
Pressing the "x" shortcut and choose delete faces will delete the left half of the mesh. You can also achieve the same result within vertex select mode, but omit selecting the center vertices and then delete vertices when pressing "x". Within the add modifier area choose mirror and enable clipping.
You are now ready to start shaping your mesh by using the transformation operations scale "s", rotate "r" and grab/move "g" and extruding "e" faces and vertices to create your shape. More sophisticated models may require that you enter sculpt mode to smooth out the mesh as you make alterations. I tend to just model in edit mode and select several faces and then press "w" and then smooth out the faces for more even topology (this is a personal preference).
Blender has several ways of selecting portions of a mesh, these include border select "b", and circle select "c". These work differently depending on the selection mode and view-port settings. Edge loop selection "shift + alt" will select all connected vertices in vertex select mode, edges in edge select mode and faces in face select mode, and is used extensively. You can also use "CTRL + " as many times as you like which selects all connecting vertices, edges or faces depending on mode.
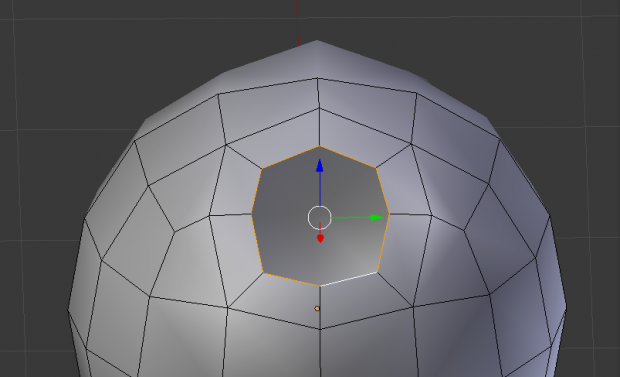
Ears, Antennae and other extremities can be shaped from the mesh, further positioned and rounded. To accomplish this select several faces and press "w" and then choose insert faces from the menu. Move the mouse for the desired effect and left click to complete the operation. You can further refine the options by pressing "F6" on the keyboard, or via the last operation area within the properties panel (the bottom left of screen).
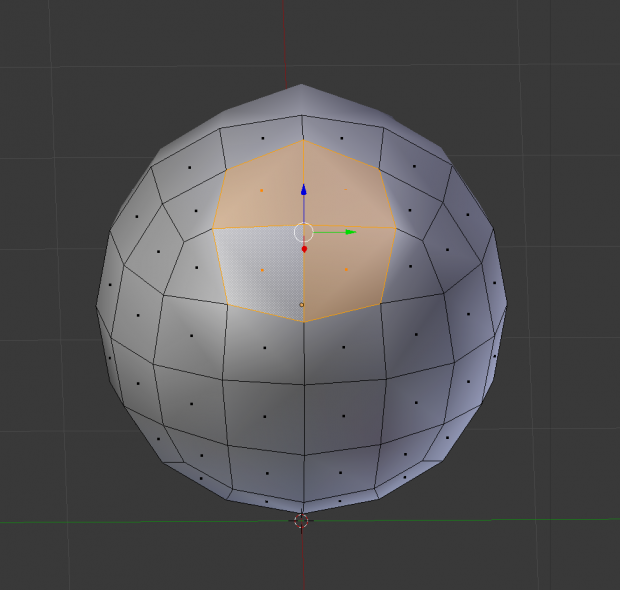
By deleting the inner faces we have nice clean topology to begin shaping and extruding the new feature.
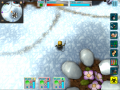
These are the main tools utilized with the Box modelling technique in Blender. With practice you can create wonderful assets and characters for you game. The hippo character below took a day to box model and texture, and has even clean topology.

You could even add a subdivision surface modifier to the mesh and utilize the wonderful sculpting tools in blender to add enhancements including skin texture and other details. With blender you may wish to preserve the low poly mesh and bake details from the sculpted high poly mesh to the low poly version.
The low poly mesh is now ready to be rigged, animated and finally imported into your favorite game engine as a finished model. You may even wish to export the model and utilize the concept as a base mesh in other popular software including ZBrush.


I already use this for almost every one of my models, great tutorial!
Thanks for the comment, Blender is truly a wonderful, feature packed application.
does this work for the new version 2.70?
This comment is currently awaiting admin approval, join now to view.
Sure box modelling is a technique that can be applied to all 3D modelling software.